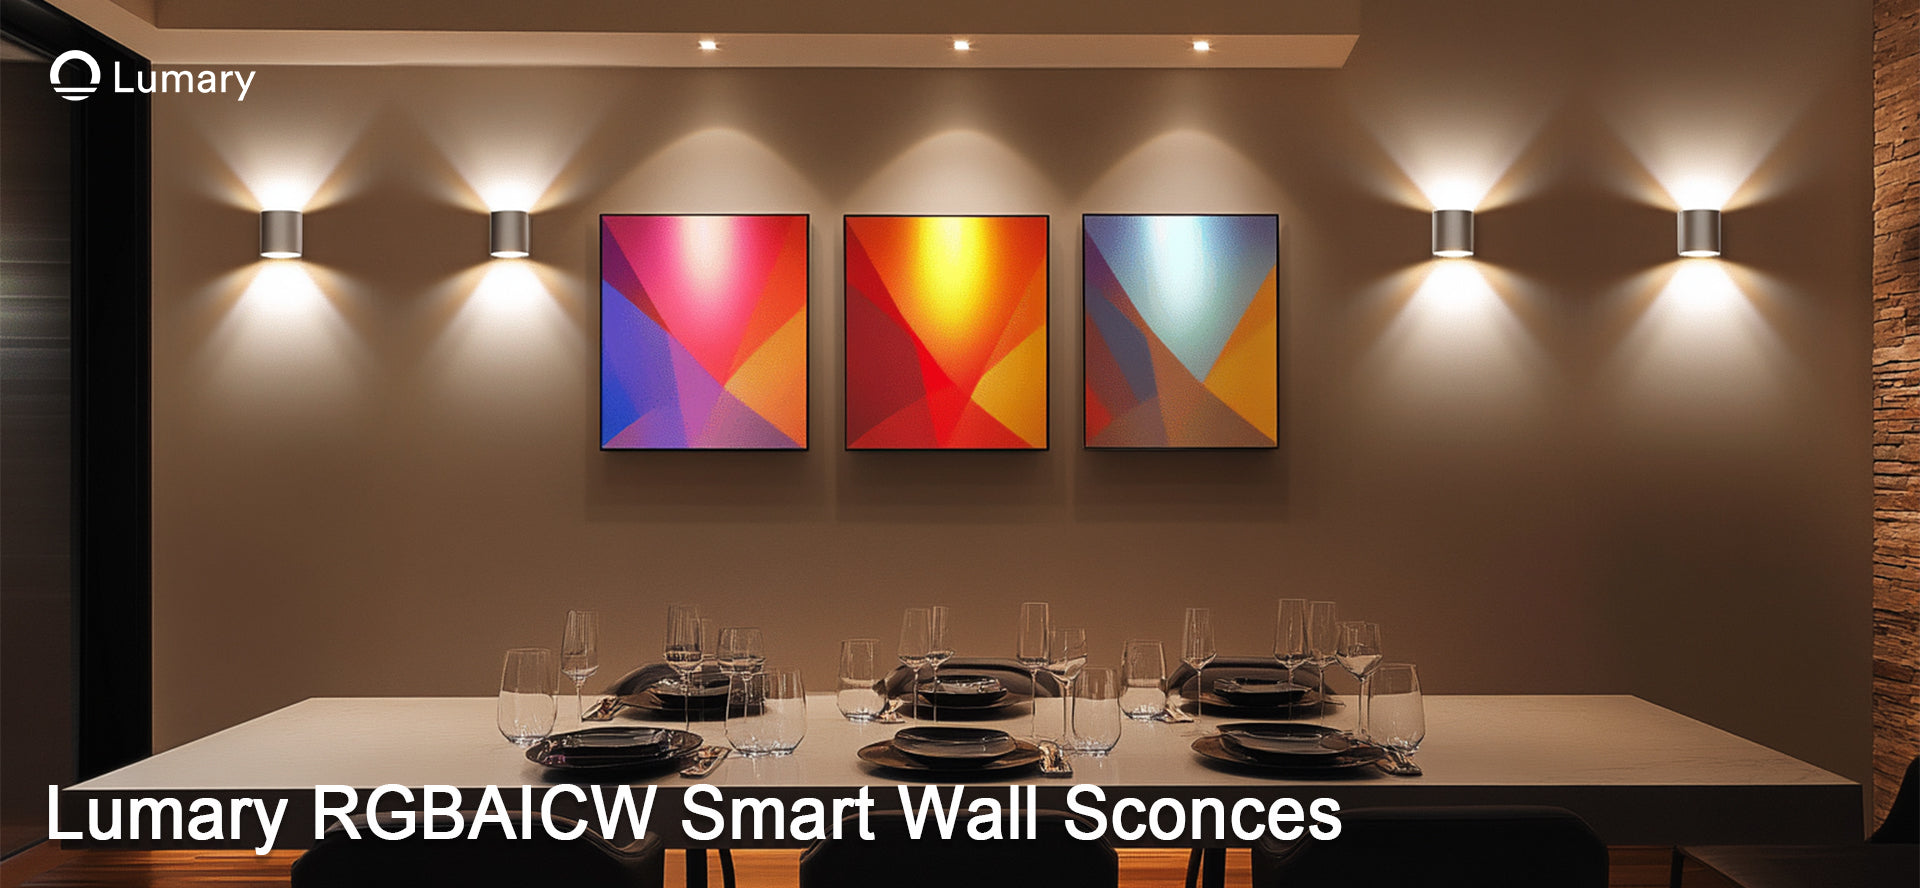
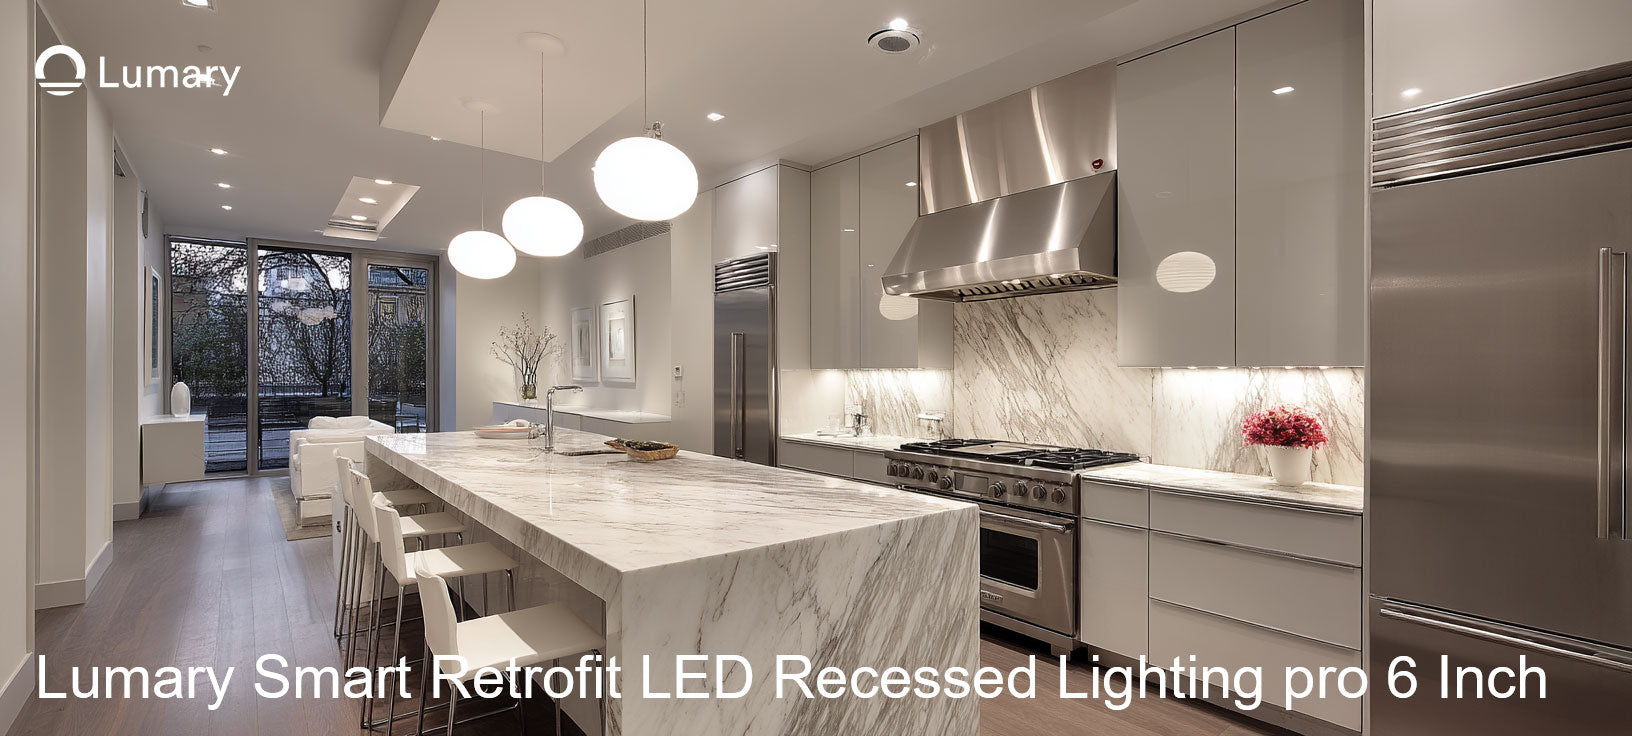
Smart lights transform homes with energy-efficient and customizable lighting solutions. These lights offer significant benefits, including reduced energy consumption and cost savings. Smart light installation enhances convenience by allowing control through apps and voice commands. Modern homes benefit from smart lighting systems that provide flexibility and improved ambiance. For example, intelligent lighting systems can deliver energy savings of around 75%. Embrace the future of home lighting with smart lights to create a sustainable and practical living environment.
Preparing for Smart Light Installation

Choosing the Right Smart Lights
Types of Smart Lights
Explore different types of smart lights to find the best fit for your home. Ring Smart Lighting A19 Smart Bulbs offer a reliable connection using radio frequency, which reduces interference compared to Wi-Fi signals. Consider Verizon Grid Wide Intelligent Lighting for centralized monitoring and remote access. This system allows for dimming lights during under-used periods, reducing maintenance costs and enhancing safety. Another option is an Intelligent LED Lighting System with smart sensors that adapt to natural light and motion detection.
Compatibility with Existing Fixtures
Ensure that the chosen smart lights are compatible with your existing fixtures. Check the size and type of the bulb socket. Verify if the smart lights can be installed in your current lighting setup. Some smart lights may require specific fixtures or additional components. Compatibility ensures a smooth installation process and optimal performance.
Gathering Necessary Tools and Materials
Tools Required
Gather the necessary tools before starting the smart light installation. You will need:
- Screwdrivers (both flathead and Phillips)
- Pliers
- Wire strippers
- Voltage tester
- Ladder
Having these tools ready will make the installation process more efficient.
Additional Materials
Prepare additional materials to complete the installation. These may include:
- Electrical tape
- Wire connectors
- Mounting brackets (if required)
- Smart hub (for connecting multiple smart lights)
These materials ensure a secure and effective installation.
Setting Up the Smart Lighting System
Understanding the Smart Hub
A smart hub acts as the central control unit for your smart lighting system. The hub connects all smart lights and allows you to control them through an app or voice commands. The Ring Smart Lighting Bridge uses radio frequency to communicate with devices, providing a stable connection.
Connecting the Smart Hub to Wi-Fi
Connect the smart hub to your home Wi-Fi network. Follow these steps:
- Plug in the smart hub and power it on.
- Open the smart lighting app on your smartphone.
- Follow the app instructions to connect the hub to your Wi-Fi network.
A stable Wi-Fi connection ensures seamless control of your smart lights.
Smart Light Installation Process

Installing Smart Bulbs
Removing Old Bulbs
Start by turning off the power to the light fixture. Use a ladder to reach the old bulbs. Carefully unscrew the old bulbs and set them aside. Ensure that the socket is clean and free of debris.
Installing New Smart Bulbs
Take the new smart bulbs out of the packaging. Screw the new smart bulbs into the socket. Turn on the power to the light fixture. Test the new smart bulbs to ensure they work correctly. Use the smart lighting app to connect the bulbs to your system.
Installing Smart Light Switches
Turning Off Power
Go to the circuit breaker panel in your home. Locate the switch that controls the power to the light switch you want to replace. Flip the switch to the "off" position to cut the power. Use a voltage tester to confirm that the power is off.
Removing Old Switches
Use a screwdriver to remove the screws holding the old switch plate. Take off the switch plate and set it aside. Unscrew the old switch from the electrical box. Carefully disconnect the wires from the old switch.
Installing New Smart Switches
Connect the wires from the wall to the new smart switch. Follow the manufacturer's instructions for wiring. Secure the new switch into the electrical box with screws. Attach the new switch plate over the smart switch. Turn the power back on at the circuit breaker. Test the smart switch to ensure it works properly. Use the smart lighting app to connect the switch to your system.
Configuring Smart Light Strips
Measuring and Cutting
Measure the area where you plan to install the smart light strips. Use a tape measure for accurate measurements. Mark the spots where you need to cut the light strips. Use scissors to cut the strips at the marked spots.
Attaching to Surfaces
Peel off the adhesive backing from the light strips. Press the strips firmly onto the desired surface. Ensure that the strips adhere well to the surface. Avoid placing the strips near heat sources or water.
Connecting to Power
Connect the light strips to the power adapter. Plug the power adapter into an electrical outlet. Turn on the power to the light strips. Use the smart lighting app to connect the strips to your system. Customize the settings for brightness and color.
Configuring and Using Smart Lights

Setting Up the Smart Lighting App
Downloading the App
Start the smart light installation by downloading the smart lighting app. Search for the app in the App Store or Google Play Store. Look for the official app from the smart light manufacturer. Tap the download button to install the app on your smartphone.
Creating an Account
Open the app after installation. Tap the "Create Account" button. Enter your email address and create a strong password. Follow the prompts to complete the account setup. Verify your email address if required. Log in to the app with your new account credentials.
Pairing Smart Lights with the App
Adding Devices
Open the smart lighting app on your smartphone. Tap the "Add Device" button. Select the type of smart light you want to add. Follow the app instructions to pair the smart light with your system. Ensure the smart light is powered on during the pairing process. Confirm the successful pairing in the app.
Grouping Lights
Organize your smart lights into groups for easier control. Open the app and navigate to the "Groups" section. Tap the "Create Group" button. Select the smart lights you want to include in the group. Name the group for easy identification. Save the group settings in the app.
Creating Lighting Scenes and Schedules
Customizing Scenes
Enhance your smart light installation by creating custom lighting scenes. Open the smart lighting app and go to the "Scenes" section. Tap the "Create Scene" button. Choose the smart lights you want to include in the scene. Adjust the brightness, color, and effects for each light. Save the scene with a unique name.
"Helps you control costs and save energy by regulating light levels based on the surrounding environment."
Setting Schedules
Set schedules to automate your smart lights. Open the app and navigate to the "Schedules" section. Tap the "Create Schedule" button. Select the smart lights or groups you want to control. Choose the days and times for the schedule. Save the schedule to activate the automation.
"Needless to say, the lighting is also intelligent enough to automatically adapt to what’s happening in the workspace. So, it dims when there’s enough natural light coming through, and it turns on and off, as and when motion is detected."
Troubleshooting and Maintenance

Common Issues and Solutions
Connectivity Problems
Smart lights sometimes face connectivity problems. Ensure the smart hub remains within range of the Wi-Fi router. A weak signal can cause frequent disconnections. Use a Wi-Fi extender to boost the signal strength if needed. Restart the router and smart hub to refresh the connection. Check for firmware updates on the smart lighting app. Updates often fix bugs and improve connectivity.
"I really like the A19 + Alexa setup, but once I expanded to ~15 bulbs, I started to get all these connection issues that happen multiple times per day, which really ruins the experience and the whole point of the smart light system."
Avoid placing the smart hub near other electronic devices. Interference from other devices can disrupt the signal. Ensure the smart lights and hub use the same Wi-Fi network. Different networks can cause pairing issues. Follow these steps to maintain a stable connection.
Light Malfunctions
Smart lights sometimes malfunction. First, check the power supply. Ensure the light fixture receives power. Replace any blown fuses or tripped circuit breakers. Next, inspect the smart bulb. Ensure the bulb fits securely in the socket. Loose connections can cause flickering or failure to turn on.
Reset the smart bulb if problems persist. Refer to the manufacturer's instructions for the reset process. Often, turning the bulb off and on several times resets it. Re-pair the bulb with the smart lighting app after resetting. Check for firmware updates. Updates can resolve many malfunctions.
Regular Maintenance Tips
Cleaning Smart Lights
Regular cleaning ensures optimal performance. Turn off the power before cleaning smart lights. Use a soft, dry cloth to wipe the bulbs and fixtures. Avoid using water or cleaning solutions. Moisture can damage the electronics inside the smart lights. Clean the smart hub and switches as well. Dust and dirt can interfere with their operation.
Updating Firmware
Keep the firmware updated for the best performance. Open the smart lighting app on your smartphone. Navigate to the settings section. Check for available firmware updates. Follow the app instructions to install updates. Regular updates enhance functionality and fix bugs.
"Needless to say, the lighting is also intelligent enough to automatically adapt to what’s happening in the workspace. So, it dims when there’s enough natural light coming through, and it turns on and off, as and when motion is detected."
Updating firmware ensures the smart lights operate efficiently. Set reminders to check for updates periodically. This practice keeps the smart lighting system running smoothly.
Smart light installation transforms home lighting into a seamless and efficient experience. Follow the steps to ensure a smooth process. Optimize smart lighting by regularly updating firmware and cleaning fixtures. Explore additional smart home devices to enhance your living space. Intelligent systems like LED lights with smart controls offer energy efficiency and cost savings. Embrace smart technology for a modern and convenient home environment.


