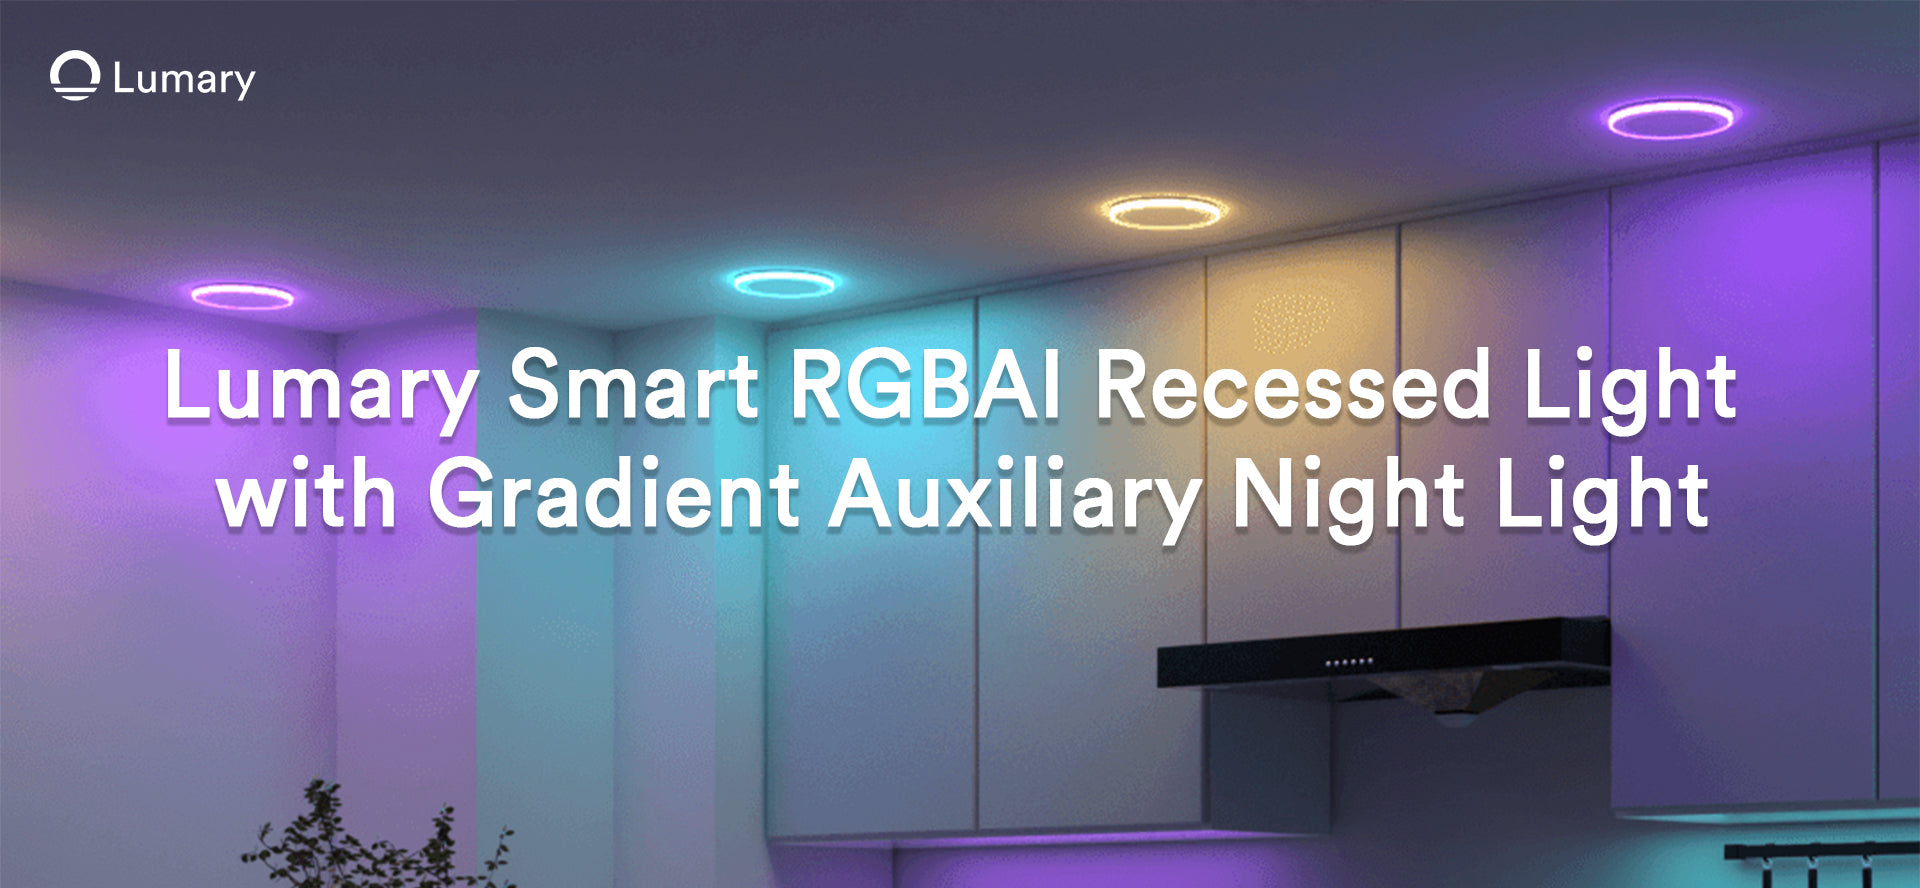
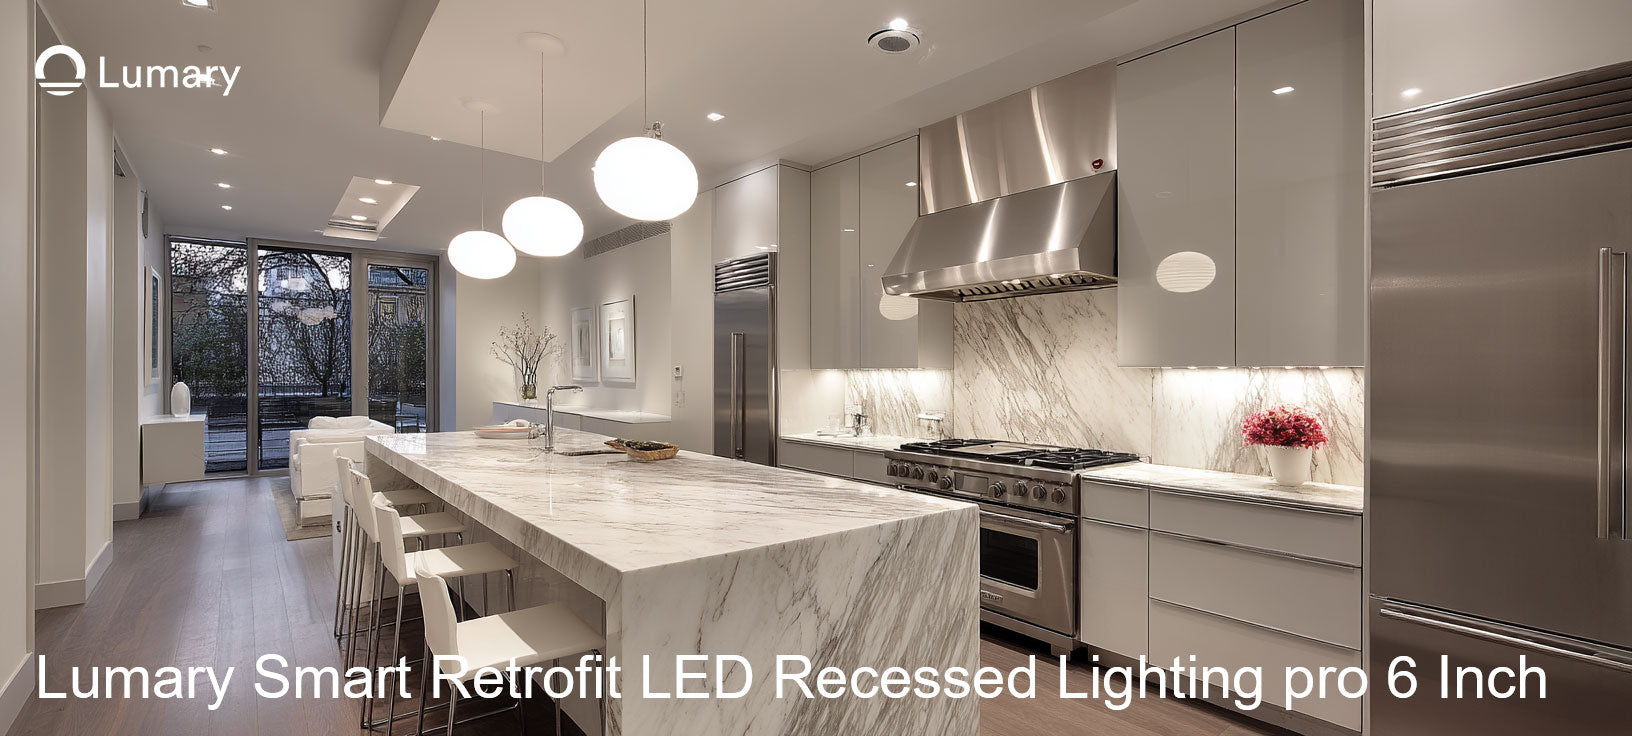
Installing recessed LED lights ceiling can transform your home with minimal effort. You don't need to be a professional to get it right. With just a few basic tools and some guidance, you can brighten up your space efficiently. These lights not only enhance the ambiance but also save energy. LED lights use 75% less energy than traditional bulbs, helping you save an average of $225 annually on energy costs. Plus, they reduce your carbon footprint, making them an eco-friendly choice. So, why not upgrade your lighting and enjoy the benefits?
Planning Your Recessed LED Lights Ceiling Installation

Planning is the first step to a successful installation of recessed LED lights ceiling. You want to ensure that your lighting not only looks great but also functions efficiently. Let's dive into how you can plan this project effectively.
Choosing the Right Lights
Selecting the right lights is crucial. LED Recessed Lighting offers a sleek design and energy efficiency, making it a popular choice for modern homes. These lights can highlight specific areas or provide general illumination. Consider the room's purpose when choosing your lights. For instance, a kitchen might need brighter lights than a bedroom. Look for lights with adjustable brightness to suit different moods and activities. Also, check for compatibility with smart home systems if you want to control your lights with voice commands or a smartphone app.
Understanding Project Requirements
Before you start, understand what your project entails. This involves assessing your ceiling type and determining the best placement for your lights.
Assessing Ceiling Type
Your ceiling type affects the installation process. If you have a drywall ceiling, installation is straightforward. However, if your ceiling is made of plaster or has insulation, you might need additional tools or techniques. Always check for any obstructions like ductwork or plumbing before cutting holes. This ensures you don't run into unexpected issues during installation.
Determining Light Placement
Proper placement enhances both functionality and aesthetics. Start by sketching a layout of your room. Identify areas that need more light, such as workspaces or reading nooks. Keep in mind that evenly spaced lights provide balanced illumination. Avoid placing lights too close to walls to prevent shadows. If you're unsure, use a flashlight to simulate different placements and see how the light falls in the room.
By carefully planning your recessed LED lights ceiling installation, you set the stage for a successful project. With the right lights and a clear understanding of your requirements, you'll create a beautifully lit space that meets your needs.
Tools and Materials Needed for Recessed LED Lights Ceiling
Before you start installing recessed LED lights ceiling, gather all the necessary tools and materials. Having everything ready will make the process smoother and more efficient.
Essential Tools
To get started, you'll need a few essential tools. These tools will help you prepare the ceiling and install the lights properly.
Drill and Drill Bits
A drill is your best friend when installing recessed LED lights ceiling. You'll use it to cut holes in the ceiling for the lights. Make sure you have the right size drill bits to match the diameter of your recessed lights. This ensures a snug fit and a clean finish. If you're unsure about the size, check the manufacturer's instructions for guidance.
Wire Strippers
Wire strippers are crucial for preparing the electrical wires. You'll need them to strip the insulation off the wires before connecting them to the light fixtures. This tool ensures that you have a clean and precise strip, which is essential for a secure electrical connection. A good connection prevents any electrical issues down the line.
Required Materials
With your tools ready, gather the materials needed for the installation. These materials are essential for setting up your recessed LED lights ceiling.
Recessed LED Lights
Choose high-quality recessed LED lights for your project. These lights are energy-efficient and provide excellent illumination. Look for features like adjustable brightness and smart home compatibility. These features allow you to customize your lighting experience and control it with ease.
Electrical Wire and Connectors
You'll need electrical wire to connect your recessed LED lights ceiling to the power source. Make sure the wire is suitable for your home's electrical system. Additionally, have connectors on hand to join the wires securely. Proper connectors ensure a safe and reliable electrical connection.
By preparing these tools and materials, you're setting yourself up for a successful installation. With everything in place, you can focus on creating a beautifully lit space that enhances your home's ambiance and functionality.
Step-by-Step Guide to Installing Recessed LED Lights Ceiling

Ready to transform your space with recessed LED lights ceiling? Let's walk through the installation process step by step. You'll find it's easier than you might think!
Preparing the Ceiling
Before you start, make sure you have all your tools and materials ready. Preparation is key to a smooth installation.
Marking Light Locations
First, decide where you want your lights. Use a measuring tape to ensure even spacing. Mark each spot with a pencil. This helps you visualize the final look and ensures balanced lighting throughout the room.
Cutting Holes
With your locations marked, it's time to cut the holes. Use a drill with the appropriate-sized hole saw attachment. Carefully cut along your marks. Make sure to wear safety goggles to protect your eyes from dust and debris. If you're unsure about the size, refer to the manufacturer's instructions for guidance.
Wiring the Lights
Now that your ceiling is ready, it's time to focus on the wiring. This part requires attention to detail for safety and functionality.
Connecting Wires
Turn off the power to the room before you begin. Use wire strippers to remove the insulation from the ends of the wires. Connect the wires from the recessed LED lights ceiling to the existing electrical wiring. Match the colors: black to black, white to white, and ground to ground. Secure each connection with a wire nut.
Securing Connections
Once connected, gently tug on each wire to ensure they're secure. Use electrical tape to wrap the wire nuts for added safety. This prevents any accidental disconnections and ensures a reliable power supply to your lights.
Installing the Lights
With the wiring complete, you're ready to install the lights themselves.
Inserting Lights into Ceiling
Carefully insert each light into its respective hole. Follow the manufacturer's instructions for securing them in place. Most recessed LED lights ceiling fixtures have spring clips that hold them snugly against the ceiling.
Testing the Installation
Finally, turn the power back on and test your lights. Ensure each one illuminates properly. If any don't work, double-check your connections. Adjust the lights as needed to achieve the desired lighting effect.
Expert Tip: If you feel uncertain at any point, consult an expert. It's better to seek advice than to risk improper installation.
By following these steps, you'll successfully install your recessed LED lights ceiling. Enjoy the enhanced ambiance and energy efficiency they bring to your home!
Safety Tips for Installing Recessed LED Lights Ceiling
When installing recessed LED lights, safety should be your top priority. By following these safety tips, you can ensure a smooth and secure installation process.
Electrical Safety Precautions
-
Turn Off the Power: Before you start any electrical work, switch off the power to the room at the circuit breaker. This step prevents electrical shocks and keeps you safe.
-
Use Proper Tools: Always use tools designed for electrical work. Insulated tools protect you from accidental contact with live wires.
-
Check Connections: Make sure all wire connections are secure. Loose connections can cause short circuits or fires. Use wire nuts and electrical tape to secure connections.
-
Follow Local Codes: Adhere to local electrical codes and regulations. These codes ensure that your installation meets safety standards.
-
Test the Circuit: After installation, test the circuit with a voltage tester. This tool confirms that the power is off before you handle any wires.
Remember: Correct installation is crucial for LED lighting safety. Attention to detail and adherence to safety guidelines ensure a safe and efficient setup.
Ladder Safety Tips
-
Choose the Right Ladder: Select a ladder that reaches your ceiling comfortably. Avoid overreaching, which can lead to falls.
-
Inspect the Ladder: Before using a ladder, check for any damage or wear. A stable and sturdy ladder is essential for your safety.
-
Set Up Properly: Place the ladder on a flat, stable surface. Ensure it's fully open and locked in place before climbing.
-
Maintain Three Points of Contact: Always keep three points of contact with the ladder—two hands and one foot, or two feet and one hand. This practice helps maintain balance.
-
Avoid Overloading: Do not carry heavy tools or materials while climbing. Use a tool belt or have someone hand you items once you're in position.
By following these electrical and ladder safety tips, you can confidently install your recessed LED lights. Safety precautions not only protect you but also ensure a successful and efficient lighting setup.
DIY or Hire a Professional for Recessed LED Lights Ceiling?
Deciding whether to tackle the installation of recessed LED lights yourself or to hire a professional can be a tough choice. Both options have their benefits and drawbacks. Let's explore when you might consider doing it yourself and when it might be best to call in the experts.
When to Consider DIY
Taking the DIY route can be rewarding. You not only save money but also gain a sense of accomplishment. Here are some reasons why you might choose to install the lights yourself:
-
Cost-Effective: Doing it yourself can save you the labor costs associated with hiring a professional. If you're on a budget, this might be the way to go.
-
Learning Experience: Installing recessed LED lights can be a great learning opportunity. You'll gain valuable skills that you can use for future home improvement projects.
-
Control Over the Project: When you do it yourself, you have complete control over the project. You can work at your own pace and make decisions without waiting for someone else.
-
Satisfaction: There's a unique satisfaction that comes from completing a project on your own. Seeing the lights illuminate your space, knowing you installed them, can be incredibly rewarding.
However, it's important to assess your comfort level with electrical work. If you're confident in your abilities and have the necessary tools, DIY might be a great option for you.
When to Hire a Professional
Sometimes, hiring a professional is the best choice. Here are some scenarios where you might want to consider bringing in an expert:
-
Complex Installations: If your ceiling has obstructions like ductwork or if you're dealing with a complex electrical system, a professional can navigate these challenges with ease.
-
Time Constraints: If you're short on time, a professional can complete the installation quickly and efficiently. They have the experience to get the job done right the first time.
-
Peace of Mind: Hiring a professional ensures that the installation meets all safety standards and local codes. You won't have to worry about potential electrical issues down the line.
-
Expert Guidance: Professionals bring a wealth of knowledge and experience. They can offer advice on the best lighting layout and help you choose the right fixtures for your space.
Ultimately, the decision comes down to your personal preferences and circumstances. Whether you choose to DIY or hire a professional, both paths can lead to a beautifully lit home. Consider your skills, budget, and time availability to make the best choice for your recessed LED lights ceiling installation.
Installing recessed LED ceiling lights is a straightforward way to enhance your home's ambiance and energy efficiency. These lights offer a sleek design and customizable lighting options, making them a popular choice for modern homes. Remember, planning is crucial. Ensure you have the right tools and materials, and prioritize safety throughout the process. If you're ever unsure, don't hesitate to seek professional help. Once installed, enjoy the soft mood lighting that adds value and style to your space. Embrace the transformation and relish in the cozy, energy-efficient glow of your new lighting setup.


