Are you looking to transform your outdoor space with smart outdoor spotlights? You're in the right place! Installing these lights is not only straightforward but also incredibly rewarding. Imagine illuminating your garden or patio with energy-efficient lighting that you can control with just a tap on your phone. These spotlights offer a high level of energy efficiency, consuming less power than traditional bulbs. Plus, they help reduce energy consumption and costs. With smart outdoor spotlights, you can enhance your home's ambiance while contributing to energy conservation efforts.
Necessary Equipment for Installing Smart Outdoor Spotlights

Before you dive into the installation process, gather all the necessary equipment. Having the right tools and components at your fingertips will make the process smooth and efficient.
List of Required Tools
To get started, you'll need a few basic tools:
-
Screwdriver: Essential for securing the mounting brackets and making any necessary adjustments.
-
Drill: You'll use this to create holes for the mounting brackets, especially if you're installing on a hard surface.
-
Ladder: If you're placing the spotlights at a height, a sturdy ladder will ensure you reach those spots safely.
These tools are common in most households, so you might already have them in your toolbox.
Smart Spotlight Kit Components
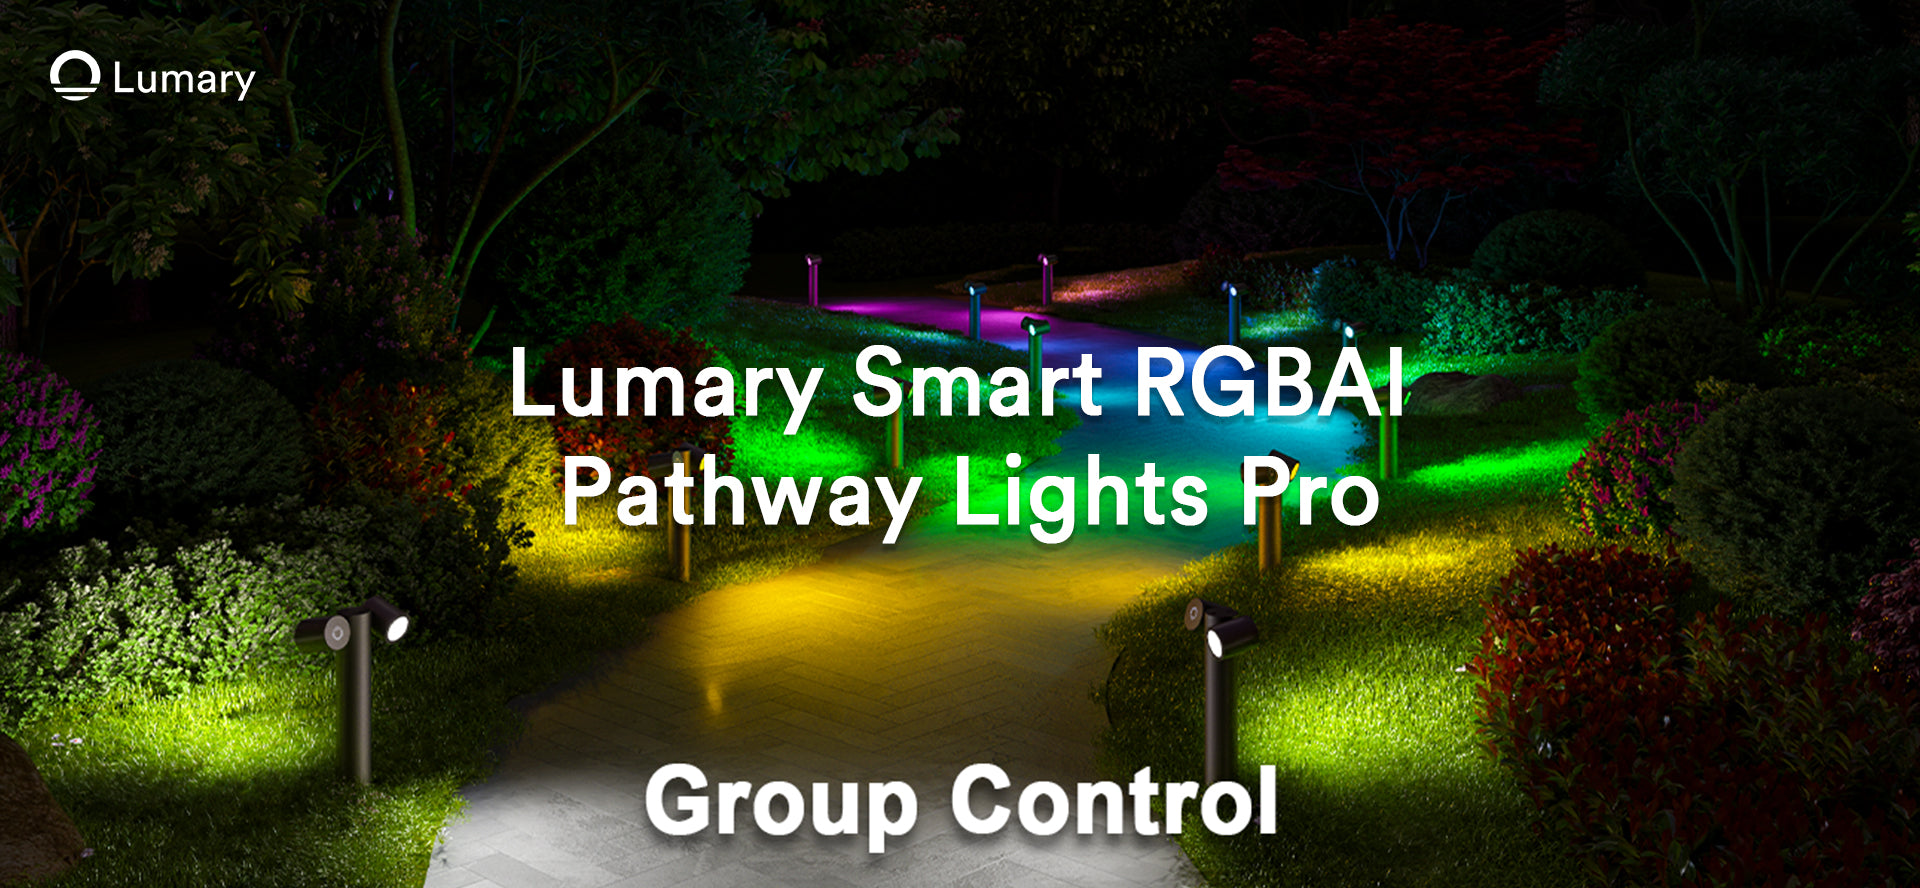
When you purchase the Lumary Smart RGBAI Pathway Lights Pro, you'll receive a comprehensive kit that includes everything you need for installation:
-
Lumary Smart RGBAI Pathway Lights Pro: These lights are the star of the show. They offer 16 million color options and tunable white capability, allowing you to customize your outdoor ambiance to suit any occasion.
-
Mounting Brackets: These brackets will help you securely attach the spotlights to your chosen surfaces, ensuring they stay in place regardless of weather conditions.
-
Power Supply: A reliable power supply is crucial for keeping your lights running smoothly. The kit includes a power supply designed to work seamlessly with the Lumary lights.
With these components, you're well-equipped to transform your outdoor space into a vibrant and inviting area. Remember, choosing a smart lighting system like the Lumary Smart RGBAI Pathway Lights Pro not only enhances your home's aesthetic but also contributes to energy efficiency.
Preparation Steps for Smart Outdoor Spotlights
Before you start installing your smart outdoor spotlights, it's crucial to prepare properly. This ensures a smooth installation process and optimal performance of your lighting system.
Check Electrical Ratings
Ensure Compatibility with Home Electrical System
First, you need to check the electrical ratings of your smart spotlights. Make sure they are compatible with your home's electrical system. This step is vital because it prevents potential electrical issues and ensures the safety of your installation. You don't want to face any surprises after setting everything up.
-
Tip: Look at the voltage and wattage requirements of your Lumary Smart RGBAI Pathway Lights Pro. Compare these with your home's electrical specifications. If you're unsure, consulting an electrician can provide peace of mind.
Ensure Stable Wi-Fi Connection
Test Wi-Fi Signal Strength Outdoors
A stable Wi-Fi connection is essential for controlling your smart outdoor spotlights. Without it, you might struggle to manage your lights through the app or voice commands.
-
Step 1: Test the Wi-Fi signal strength in the area where you plan to install the lights. You can use your smartphone to check if the signal is strong enough. If the signal is weak, consider moving your router closer or using a Wi-Fi extender.
-
Step 2: Ensure that your Wi-Fi network operates on a 2.4 GHz frequency, as many smart devices, including the Lumary lights, require this for optimal connectivity.
Research Insight: According to Grand View Research, wireless technology like Wi-Fi connects lighting fixtures with smartphone apps, allowing you to control the light bulb's functions seamlessly. Ensuring compatibility and connectivity is key to a successful smart home setup.
By following these preparation steps, you'll set a solid foundation for installing your smart outdoor spotlights. This groundwork will help you avoid common pitfalls and enjoy a hassle-free lighting experience.
Installation Process of Smart Outdoor Spotlights

Installing smart outdoor spotlights can be a fun and rewarding project. Let's walk through the steps to get your lights up and running.
Mounting the Spotlights
Choose Installation Location
First, decide where you want to place your smart outdoor spotlights. Consider areas that need illumination, like pathways, gardens, or patios. Think about how the light will enhance your outdoor space. You want to maximize coverage and create an inviting atmosphere.
-
Tip: Avoid placing spotlights too close to each other. This prevents overlapping light beams and ensures even distribution.
Secure Mounting Brackets
Once you've chosen the perfect spot, it's time to secure the mounting brackets. Use your drill to create holes for the brackets. Make sure they are level and firmly attached to the surface. This step is crucial for keeping your spotlights stable, especially in windy conditions.
-
Pro Tip: Double-check the alignment of the brackets before tightening the screws. This ensures your lights will point in the right direction.
Connecting the Lights
Wiring the Spotlights
Now, let's connect the wiring. Follow the instructions provided with your Lumary Smart RGBAI Pathway Lights Pro. Connect the wires from the spotlights to the power supply. Ensure all connections are tight and secure. This step is vital for the proper functioning of your smart outdoor spotlights.
-
Safety Note: Always turn off the power supply before handling any electrical connections. Safety first!
Testing Electrical Connections
After wiring, it's time to test the electrical connections. Turn on the power and check if the spotlights light up. If they do, congratulations! You've successfully installed your smart outdoor spotlights. If not, double-check the wiring and connections.
-
Expert Testimony: According to a Smart Lighting Professional, "For larger installations, consider hiring a professional to ensure everything is set up correctly." This advice can save you time and prevent potential issues.
By following these steps, you'll have your smart outdoor spotlights installed in no time. Enjoy the enhanced ambiance and convenience they bring to your outdoor spaces.
Controlling Smart Outdoor Spotlights
Once you've installed your smart outdoor spotlights, it's time to take control of them. You can manage these lights easily using mobile apps and integrate them with smart home systems for a seamless experience.
Using Mobile Apps
Download and Install Lumary App
To start controlling your Lumary Smart RGBAI Pathway Lights Pro, download the Lumary app. It's available on both iOS and Android platforms. Simply search for "Lumary" in your app store and hit download. Once installed, open the app and follow the on-screen instructions to set up your account.
Pairing Lights with App
After setting up the app, it's time to pair your lights. Make sure your smartphone is connected to the same Wi-Fi network as your lights. In the app, select "Add Device" and follow the prompts to connect your Lumary lights. The app will guide you through the process, ensuring a smooth pairing experience. Once paired, you can customize your lighting settings, including color, brightness, and scheduling.
Integrating with Smart Home Systems
Compatible Smart Home Platforms
Your Lumary Smart RGBAI Pathway Lights Pro can integrate with popular smart home platforms like Alexa and Google Assistant. This compatibility allows you to control your lights using voice commands, adding an extra layer of convenience to your smart home setup.
Setting Up Voice Commands
To set up voice commands, link your Lumary account with your preferred smart home platform. For Alexa, open the Alexa app, go to "Skills & Games," and search for "Lumary." Enable the skill and follow the instructions to link your account. For Google Assistant, open the Google Home app, tap "Add," then "Set up device," and choose "Works with Google." Search for "Lumary" and follow the prompts to link your account.
Once linked, you can use voice commands to control your lights. Try saying, "Alexa, turn on the garden lights," or "Hey Google, set the patio lights to blue." This hands-free control makes managing your outdoor lighting effortless and fun.
By using mobile apps and integrating with smart home systems, you gain full control over your smart outdoor spotlights. Enjoy the convenience and flexibility these technologies bring to your outdoor spaces.
Tips for Future Enhancements of Smart Outdoor Spotlights
Adding More Spotlights
Expanding Coverage Area
Thinking about expanding your outdoor lighting? Adding more smart spotlights can enhance the beauty and security of your space. You can illuminate larger areas like driveways, gardens, or patios. This expansion not only improves visibility but also adds a touch of elegance to your home.
-
Assess Your Needs: Determine which areas require additional lighting. Consider pathways, dark corners, or spots that could benefit from extra illumination.
-
Plan the Layout: Sketch a layout of your outdoor space. Decide where to place the new spotlights for optimal coverage. Avoid placing them too close to each other to prevent overlapping light beams.
-
Choose Compatible Lights: Ensure the new spotlights are compatible with your existing system. This compatibility allows for seamless integration and control through your app or smart home system.
-
Installation: Follow the same installation process as before. Secure the mounting brackets, connect the wiring, and test the lights.
Case Study: The City of Columbus expanded its smart lighting system and saved $3.7 million annually. This shows the potential benefits of expanding your smart lighting setup.
Troubleshooting Common Issues
Connectivity Problems
Experiencing connectivity issues with your smart outdoor spotlights? Don't worry; you're not alone. Here are some steps to help you troubleshoot:
-
Check Wi-Fi Signal: Ensure your Wi-Fi signal is strong in the area where your lights are installed. Weak signals can cause connectivity problems. Consider using a Wi-Fi extender if needed.
-
Restart Devices: Sometimes, a simple restart can resolve connectivity issues. Turn off your lights and router, wait a few seconds, and then turn them back on.
-
Update Firmware: Check for any firmware updates for your smart lights. Manufacturers often release updates to improve performance and fix bugs.
Market Insight: The growing demand for smart lighting is driven by IoT integration and voice control. Ensuring strong connectivity is crucial for a seamless smart lighting experience.
Light Malfunctions
If your smart outdoor spotlights aren't functioning correctly, try these troubleshooting tips:
-
Inspect Connections: Check all electrical connections to ensure they are secure. Loose wires can cause malfunctions.
-
Replace Bulbs: If a spotlight isn't lighting up, the bulb might be faulty. Replace it with a new one to see if that resolves the issue.
-
Consult the Manual: Refer to the user manual for specific troubleshooting steps related to your Lumary Smart RGBAI Pathway Lights Pro.
By following these tips, you can enhance your smart outdoor lighting setup and address common issues effectively. Enjoy the benefits of a well-lit and inviting outdoor space!
Installing smart outdoor spotlights is a breeze, offering you a simple way to enhance your outdoor spaces. These lights not only brighten your garden or patio but also bring convenience to your fingertips. With smart outdoor spotlights, you can enjoy the perfect ambiance for any occasion.
Why stop there? Explore additional smart home integrations to elevate your lighting experience even further. Seamless compatibility among devices ensures a connected and efficient living space. Dive into the world of smart outdoor spotlights and transform your home into a modern, vibrant haven.


