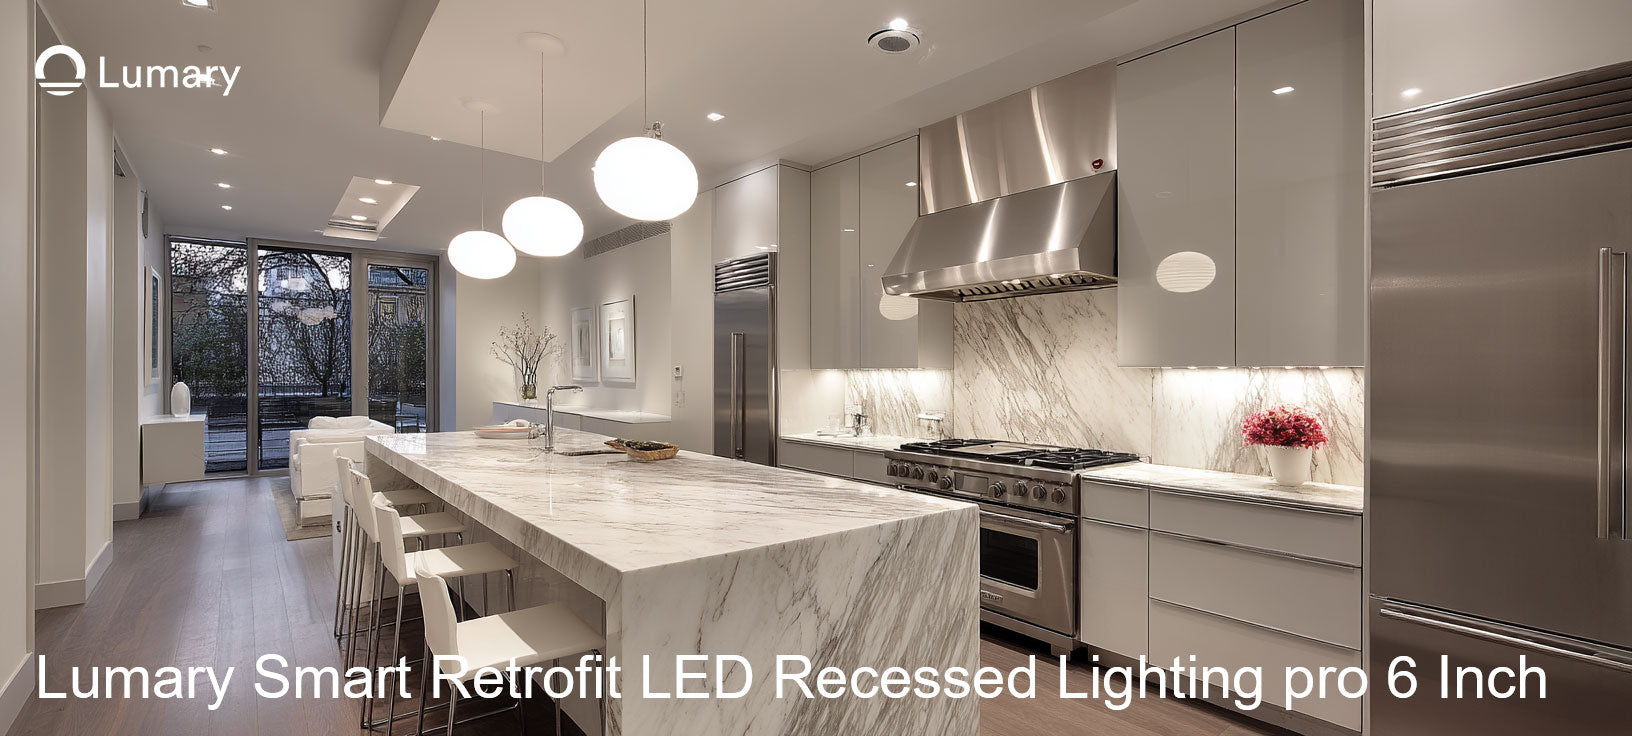
Switching to LED lighting offers you a host of benefits. You can enjoy energy savings of up to 90% compared to traditional incandescent bulbs, and these LEDs last up to 25 times longer. This means lower utility bills and less frequent replacements. Retrofitting your existing can lights with LED kits is a straightforward process. It involves removing the old fixtures and installing new LED components. This can light retrofit led process not only enhances your lighting options but also contributes to a greener environment.
Safety Precautions

Importance of Turning Off Power
Before you start retrofitting your can lights, turning off the power is crucial. This step ensures your safety and prevents electrical accidents.
How to Safely Turn Off Power
-
Locate the Circuit Breaker: Find the breaker box in your home. Identify the switch that controls the lighting circuit you’ll be working on.
-
Switch Off the Power: Flip the switch to the "off" position. This cuts the power supply to the lights.
-
Verify the Power is Off: Use a voltage tester to check if the power is truly off. Place the tester near the wires to ensure no electricity is flowing.
Checking for Live Wires
Even after turning off the power, you should double-check for live wires. Use the voltage tester again to confirm. If you detect any electricity, consult a professional.
Expert Tip: "Should any electrical issues arise, it is always best to have an expert handle it."
Personal Protective Equipment
Wearing the right gear protects you from potential hazards during installation.
Recommended Safety Gear
-
Insulated Gloves: These protect your hands from electrical shocks.
-
Safety Goggles: Shield your eyes from dust and debris.
-
Non-Slip Shoes: Ensure stability while working on ladders or uneven surfaces.
Handling Electrical Components Safely
When dealing with electrical components, handle them with care. Avoid touching exposed wires directly. Always use tools with insulated handles.
Expert Advice: Electrical safety experts recommend consulting professionals if you're unsure about any part of the process.
Tools and Materials Needed
Before you dive into retrofitting your can lights, gather the right tools and materials. This ensures a smooth and efficient process.
Essential Tools
Screwdrivers and Pliers
You'll need a set of screwdrivers and pliers. These tools help you remove old fixtures and secure new components. Make sure they're insulated for safety.
Voltage Tester
A voltage tester is crucial. It confirms that the power is off before you start working. This tool keeps you safe from electrical shocks.
Required Materials
LED Retrofit Kits
LED Retrofit Kits are your main component. They upgrade your existing fixtures with energy-efficient LED technology. These kits include an LED driver and light panel, fitting seamlessly into your current setup. They enhance lighting while maintaining your fixture's look.
Wire Connectors and Insulation Tape
Wire connectors and insulation tape are essential for secure connections. They ensure that wires stay connected and insulated, preventing any electrical hazards.
Tip: Always double-check your materials list before starting. Missing items can delay your project.
Step-by-Step Installation Guide
Ready to transform your lighting? Let’s dive into the can light retrofit LED process. Follow these steps to ensure a smooth installation.
Removing the Old Fixture
First, you need to remove the old fixture. This step is crucial for making space for your new LED kit.
Detaching the Trim and Bulb
-
Remove the Trim: Gently pull down the trim. It should come off easily.
-
Take Out the Bulb: Twist the bulb counterclockwise to remove it. Handle with care to avoid breakage.
Disconnecting the Wiring
-
Locate the Wiring: Find the wires connecting the fixture.
-
Disconnect Safely: Use pliers to carefully disconnect the wires. Make sure they’re not live by using your voltage tester.
Preparing the Housing
Now, prepare the housing for the new LED kit. This ensures a perfect fit and optimal performance.
Cleaning and Inspecting the Housing
-
Clean Thoroughly: Wipe away dust and debris. A clean surface helps with installation.
-
Inspect for Damage: Check for any signs of wear or damage. Repair if necessary to ensure safety.
Ensuring Compatibility with LED Kit
-
Check Size and Fit: Make sure your LED kit matches the housing size.
-
Verify Compatibility: Some kits require specific fixtures. Double-check to avoid issues.
Installing the New LED Kit
With the old fixture out and housing ready, it’s time to install your new LED kit.
Connecting the Wiring
-
Match the Wires: Connect the wires from the LED kit to the existing ones. Usually, black to black and white to white.
-
Secure Connections: Use wire connectors to secure the connections. Wrap with insulation tape for added safety.
Securing the LED Kit in Place
-
Position the Kit: Align the LED kit with the housing.
-
Secure Firmly: Use the provided clips or screws to hold the kit in place. Ensure it’s stable and won’t move.
Pro Tip: LED retrofit kits offer substantial cost savings and energy efficiency. They’re easier to install compared to complete redesigns, making them a smart choice for enhancing your lighting.
By following these steps, you’ll complete your can light retrofit LED project with ease. Enjoy the benefits of modern, efficient lighting in your home.
Troubleshooting Common Issues

Even with the best preparations, you might encounter some hiccups during your LED retrofit project. Let's tackle some common issues you might face and how to solve them.
Flickering Lights
Flickering lights can be annoying and might indicate an underlying problem. Here's how you can address this issue:
Causes and Solutions
-
Incompatible Dimmer Switches: If your lights flicker, check if your dimmer switch is compatible with LED bulbs. Many older dimmers don't work well with LEDs. Consider upgrading to an LED-compatible dimmer.
-
Voltage Fluctuations: Sometimes, flickering results from voltage fluctuations in your electrical system. You might need an electrician to assess and stabilize your home's voltage.
-
Loose Bulbs or Connections: Ensure that the bulbs are tightly screwed in and all connections are secure. A loose bulb or connection can cause flickering.
Tip: In a case study on upgrading shop and barn lighting to LED lights, ensuring proper connections and using compatible components led to a successful implementation without flickering issues.
Checking Connections
-
Inspect Wire Connections: Double-check all wire connections. Loose wires can cause intermittent power flow, leading to flickering.
-
Use a Voltage Tester: Verify that the voltage is stable using a voltage tester. This tool helps you identify any inconsistencies in power supply.
Incompatibility Problems
Sometimes, the LED kit might not fit perfectly with your existing setup. Here's how to identify and resolve these issues:
Identifying Compatibility Issues
-
Check Fixture Size: Ensure that your LED kit matches the size of your existing housing. Mismatched sizes can lead to improper fitting.
-
Review Manufacturer's Instructions: Go through the manufacturer's guidelines to confirm compatibility. Some kits require specific fixtures or adapters.
Insight: In a car dealership lighting upgrade, careful selection of compatible LED kits resulted in improved lighting efficiency and seamless installation.
Solutions for Incompatibility
-
Use Adapters: If your LED kit doesn't fit, consider using adapters like E26 or TP24 connectors. These can bridge the gap between your existing setup and the new kit.
-
Consult a Professional: If you're unsure about compatibility, it's wise to consult an electrician. They can provide guidance and ensure a safe installation.
Pro Tip: The successful transition to LED lights in a competition shooting range highlighted the importance of using the right adapters and professional advice for a smooth retrofit process.
By addressing these common issues, you can ensure a successful LED retrofit project. Enjoy the benefits of efficient and reliable lighting in your home!
Maintenance Tips
Keeping your LED fixtures in top shape ensures they last longer and perform better. Regular maintenance isn't just about cleaning; it's about monitoring their performance too. Let's dive into some practical tips to help you maintain your LED lights effectively.
Regular Cleaning
Cleaning your LED fixtures might seem trivial, but it plays a crucial role in maintaining their efficiency. Dust and grime can accumulate over time, affecting the light output and even causing overheating.
How to Clean LED Fixtures
-
Turn Off the Power: Always start by switching off the power to avoid any electrical hazards.
-
Use a Soft Cloth: Gently wipe the surface of the LED fixture with a soft, dry cloth. This removes dust without scratching the surface.
-
Avoid Harsh Chemicals: Stick to mild soap and water if necessary. Harsh chemicals can damage the fixture's finish.
-
Check for Obstructions: Ensure that no objects block the airflow around the fixture. Proper ventilation is key to preventing overheating.
Tip: Regular cleaning not only enhances the light quality but also prolongs the lifespan of your LEDs.
Frequency of Cleaning
How often should you clean your LED fixtures? It depends on the environment. In dusty areas, you might need to clean them monthly. In cleaner environments, every few months should suffice. Regular checks help you decide the best schedule for your home.
Monitoring Performance
Keeping an eye on your LED lights' performance helps you catch issues early. This proactive approach saves you time and money in the long run.
Signs of Wear and Tear
-
Dimming Light Output: If your LEDs aren't as bright as they used to be, it might be time for a check-up.
-
Flickering or Inconsistent Lighting: This could indicate loose connections or other electrical issues.
-
Unusual Heat: LEDs should remain cool to the touch. Excessive heat might signal a problem with the fixture or installation.
Insight: Regular monitoring helps you spot these signs early, ensuring your LEDs continue to perform optimally.
When to Replace Components
LEDs are durable, but they aren't immortal. Knowing when to replace components is essential for maintaining efficiency.
-
End of Lifespan: Most LEDs last between 25,000 to 50,000 hours. If yours are nearing this mark, consider replacements.
-
Persistent Issues: If flickering or dimming persists despite troubleshooting, it might be time for new components.
-
Physical Damage: Cracks or damage to the fixture can affect performance and safety. Replace damaged parts promptly.
Pro Tip: Regular maintenance maximizes your investment in LED lighting. A little care goes a long way in ensuring a bright and efficient home.
By following these maintenance tips, you can enjoy the full benefits of your LED lighting for years to come. Keep your space well-lit and energy-efficient with these simple yet effective practices.
Retrofitting your can lights with LED kits offers numerous benefits. You’ll enjoy significant energy savings, with some users reporting up to a 50% reduction in their electric bills. LEDs also provide brighter and more vibrant lighting, enhancing the ambiance of your space. By following this guide, you can achieve a successful can light retrofit LED project, transforming your home’s lighting efficiently. If you need further assistance, explore additional resources or consult professionals to ensure a seamless transition to LED lighting.


