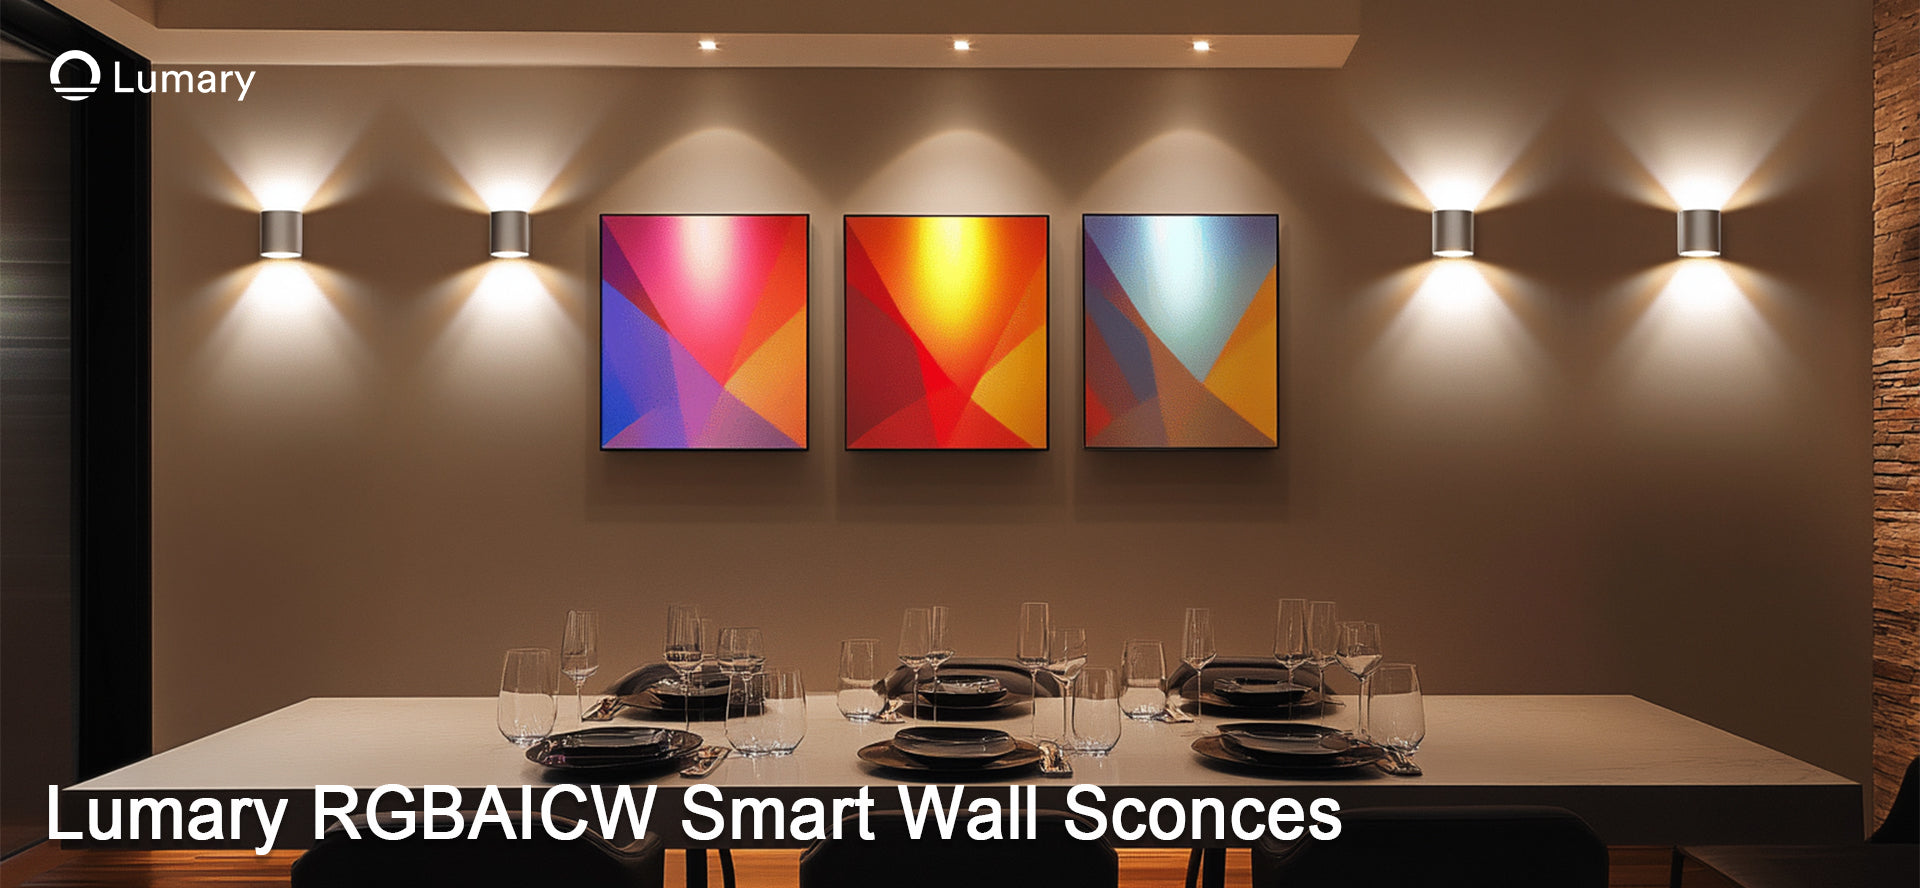
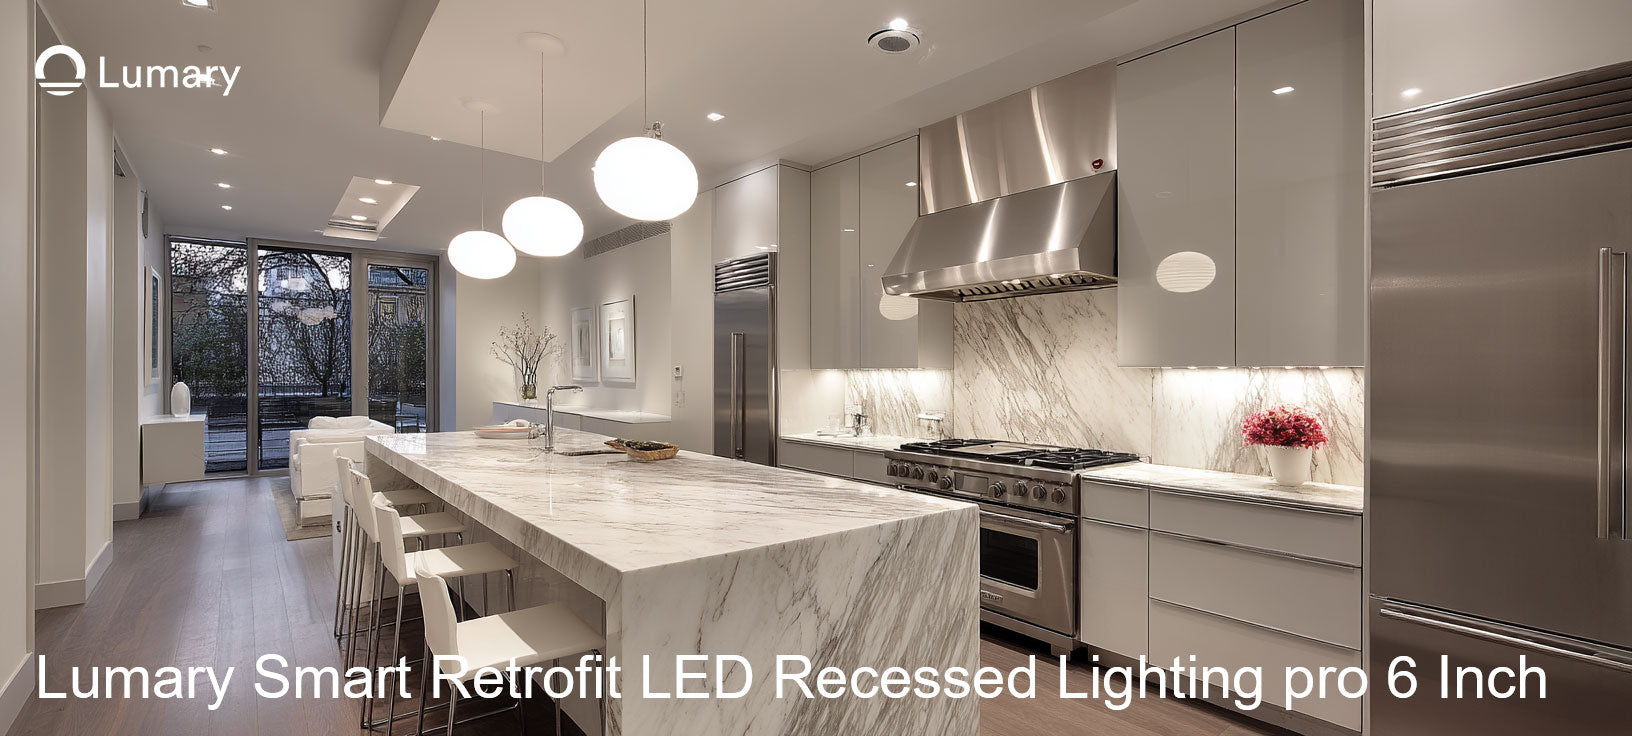
LED lighting offers numerous benefits, making it a popular choice for modern homes. You can save up to 90% on energy costs compared to traditional incandescent bulbs. Additionally, LEDs last up to 25 times longer, reducing the need for frequent replacements. Retrofitting recessed lights with LED can retrofit kits is crucial for enhancing energy efficiency and reducing environmental impact. This simple upgrade not only lowers your electricity bills but also contributes to a sustainable future by minimizing energy consumption and waste.
Understanding LED Technology

What are LEDs?
LEDs, or Light Emitting Diodes, represent a significant advancement in lighting technology. Unlike traditional incandescent bulbs, LEDs emit light when an electric current passes through a semiconductor. This process makes them highly efficient and durable.
Advantages of LEDs over traditional lighting
LEDs offer numerous benefits over conventional lighting options. First, they consume significantly less energy, which translates to lower electricity bills for you. They also have a longer lifespan, often lasting up to 25,000 hours or more. This longevity reduces the frequency of replacements, saving you time and money. Additionally, LEDs produce less heat, making them safer and more comfortable for your home environment.
Types of LED bulbs suitable for recessed lighting
When retrofitting recessed lights, you have several LED bulb options. LED Recessed Retrofits are popular because they combine the trim and light source into one fixture, seamlessly blending into your ceiling. These retrofits often use a medium (E26) base, allowing easy installation into existing housings. You can also choose from various styles like MR16, Par 20, Par 30, and Par 38, each offering different beam spreads and color temperatures to suit your needs.
Energy efficiency and cost savings
LEDs are renowned for their energy efficiency. They convert a higher percentage of electricity into light, minimizing wasted energy. This efficiency leads to substantial cost savings over time, as you spend less on electricity.
Long-term benefits of using LEDs
The long-term benefits of using LEDs extend beyond cost savings. Their durability means fewer replacements, reducing waste and maintenance efforts. By choosing LEDs, you contribute to a sustainable future, as these lights have a smaller carbon footprint compared to traditional bulbs.
Environmental impact
Switching to LEDs positively impacts the environment. They contain no harmful substances like mercury, which is found in some other lighting technologies. Additionally, their reduced energy consumption lowers greenhouse gas emissions, helping combat climate change. By opting for LED can retrofit solutions, you play a part in preserving the planet for future generations.
Preparing for the Retrofit
Tools and Materials Needed
To successfully retrofit your recessed lights with LEDs, you need the right tools and materials. Having these on hand ensures a smooth and efficient installation process.
List of essential tools
-
Phillips Screwdriver: Essential for removing and securing fixtures.
-
Voltage Tester: Ensures that the power is off before you begin working.
-
Wire Strippers: Necessary for preparing wires for connection.
-
Ladder or Step Ladder: Provides access to ceiling fixtures safely.
-
Safety Glasses: Protects your eyes from dust and debris.
-
Sharpie: Useful for marking positions and making notes.
-
Drill: Assists in securing fixtures if needed.
-
Stud Finder: Helps locate beams for secure fixture placement.
These tools not only ensure safety but also enhance the efficiency and accuracy of your installation.
Recommended LED bulbs and fixtures
For retrofitting, consider using LED Recessed Retrofits. These are ideal because they combine the trim and light source into one fixture, offering a seamless look that blends into your ceiling. They provide:
-
Efficiency: Consume less energy, reducing electricity bills.
-
Convenience: Easy to install with a medium (E26) base.
-
Longevity: Longer lifespan compared to traditional bulbs.
-
Better Heat Management: Produce less heat, enhancing safety.
These features make them a smart choice for upgrading your lighting quickly and easily.
Safety Precautions
Safety should be your top priority when working with electrical installations. Following these precautions will help you avoid accidents and ensure a successful retrofit.
Electrical safety tips
-
Always turn off the power at the circuit breaker before starting any electrical work.
-
Use a Voltage Tester to confirm that the power is off.
-
Avoid working on wet surfaces to prevent electrical shocks.
-
Ensure all connections are secure and insulated properly.
These steps help protect you from electrical hazards during the installation process.
Personal protective equipment
Wearing the right protective gear is crucial for your safety. Equip yourself with:
-
Safety Glasses: Shields your eyes from dust and debris.
-
Gloves: Protects your hands from sharp edges and electrical components.
-
Non-slip Shoes: Provides stability when using a ladder.
By following these guidelines, you can retrofit your recessed lights safely and effectively.
Step-by-Step Retrofitting Process

Retrofitting your recessed lights with LED can retrofit kits involves a straightforward process. By following these steps, you can ensure a successful and efficient installation.
Removing Existing Fixtures
Turning off the power
Before you begin, turn off the power to the lighting circuit at the breaker box. This step is crucial for your safety. Use a voltage tester to confirm that no electricity flows to the fixture. This precaution prevents electrical shocks and ensures a safe working environment.
Detaching the old fixture
Once the power is off, remove the existing fixture. Start by unscrewing the trim and gently pulling it down. Disconnect the wires by loosening the wire nuts. Carefully detach the fixture from the housing. Keep the screws and any reusable parts for later use. This step clears the way for your new LED can retrofit kit.
Installing the LED Retrofit Kit
Connecting the wiring
With the old fixture removed, you can now connect the wiring for your LED can retrofit kit. Match the wires from the retrofit kit to the corresponding wires in the ceiling. Typically, this involves connecting black to black, white to white, and green or bare copper to the ground wire. Secure the connections with wire nuts. Ensure all connections are tight and insulated properly to prevent electrical issues.
Securing the new fixture
After wiring, insert the LED can retrofit kit into the housing. Align it properly and secure it using the provided clips or screws. Make sure the fixture sits flush with the ceiling for a seamless look. This step ensures that your new LED fixture is stable and aesthetically pleasing.
Testing the Installation
Powering on the lights
Once the fixture is secure, restore power to the circuit. Turn on the switch to test the lights. The LED can retrofit should illuminate immediately. If it doesn't, double-check your wiring connections and ensure the fixture is properly seated.
Checking for proper functionality
Observe the light for any flickering or unusual behavior. Ensure the light operates smoothly and provides the desired brightness. If everything functions correctly, your LED can retrofit installation is complete. This final check confirms that your new lighting setup is both functional and efficient.
Tip: Consulting a professional electrician can enhance the safety and efficiency of your LED can retrofit project. Electricians can assess compatibility and identify potential issues, ensuring a smooth installation process.
By following these steps, you can successfully retrofit your recessed lights with LED can retrofit kits, enhancing your home's energy efficiency and lighting quality.
Common Mistakes to Avoid
When retrofitting recessed lights with LEDs, you might encounter some common pitfalls. By being aware of these mistakes, you can ensure a smooth and successful installation process.
Incorrect bulb selection
Choosing the right LED bulb is crucial for a successful retrofit. Here are some common mistakes to avoid:
Choosing the wrong size or type
You must select the correct size and type of LED bulb for your recessed lighting. Using the wrong size can lead to poor fit and performance. For instance, if your fixture requires an MR16 bulb, using a Par 38 will not work. Always check the specifications of your existing fixtures and match them with the appropriate LED bulb.
Overlooking compatibility issues
Compatibility is key when selecting LED bulbs. Some LED bulbs may not work with existing dimmer switches or fixtures. Ensure that the LED bulb you choose is compatible with your current setup. Look for bulbs labeled as "dimmable" if you plan to use them with a dimmer switch. This step prevents flickering and ensures optimal performance.
Improper installation techniques
Proper installation is essential for the longevity and safety of your LED retrofit. Avoid these common installation errors:
Skipping safety checks
Safety checks are vital before and during the installation process. You should always turn off the power at the circuit breaker before starting any electrical work. Use a voltage tester to confirm that the power is off. Skipping these checks can lead to electrical shocks or damage to your new fixtures.
Failing to secure fixtures properly
Securing your LED fixtures correctly is crucial for both safety and aesthetics. If you fail to secure the fixtures, they may become loose or fall, posing a safety hazard. Ensure that you follow the manufacturer's instructions for securing the fixtures. Use the provided clips or screws to keep the fixture stable and flush with the ceiling.
Tip: Selecting high-quality LED solutions and avoiding these common mistakes can maximize energy savings and minimize maintenance costs over the lifetime of your LED solution.
Additional Resources and Guides
When you retrofit your recessed lights with LED can retrofit kits, you might want to explore additional resources to enhance your understanding and skills. These resources can provide valuable insights and guidance for a successful project.
Where to find more information
Online tutorials and videos
Online platforms offer a wealth of tutorials and videos that can guide you through the LED can retrofit process. Websites like YouTube host numerous step-by-step guides created by professionals and DIY enthusiasts. These visual aids can help you understand the nuances of installation, from wiring to securing fixtures. Watching these tutorials allows you to see the process in action, making it easier to replicate in your own home.
Manufacturer guides and manuals
Always refer to the manufacturer's guides and manuals for your specific LED can retrofit kit. These documents contain detailed instructions tailored to the product, ensuring you follow the correct procedures. Adhering to these guidelines prevents common mistakes, such as misalignments or bracket instability, which can lead to uneven lighting or safety hazards. Properly following these instructions ensures a smooth and safe installation.
"When the instructions are not meticulously followed, misalignments can occur, leading to uneven lighting distribution and aesthetic inconsistencies." - Anonymous Contributor
Related lighting projects
Exploring related lighting projects can further enhance your home's ambiance and efficiency. Consider these options:
Upgrading other lighting fixtures
Once you've successfully completed your LED can retrofit, you might want to upgrade other lighting fixtures in your home. This could involve replacing outdated fixtures with modern LED options, improving both energy efficiency and aesthetics. By upgrading additional fixtures, you create a cohesive lighting environment throughout your home, enhancing its overall appeal.
Smart lighting integration
Integrating smart lighting solutions can elevate your lighting setup to the next level. Smart LED can retrofit kits, like the Lumary Smart RGBAI Can Light, offer features such as app control and voice command compatibility. These capabilities allow you to customize your lighting experience, adjusting colors and brightness to suit any occasion. Smart lighting integration provides convenience and flexibility, making it a worthwhile addition to your home.
Tip: Proper tools and meticulous adherence to instructions are crucial for a successful LED can retrofit. Ensure you have all necessary equipment and follow the guidelines to avoid complications.
By utilizing these resources and exploring related projects, you can maximize the benefits of your LED can retrofit, creating a more efficient and visually appealing home lighting system.
Retrofitting your recessed lights with LEDs offers a straightforward path to energy efficiency and cost savings. By embracing LED technology, you not only reduce electricity bills but also contribute to a sustainable future. LEDs consume significantly less energy and last much longer than traditional bulbs, making them a smart investment for any home. Their adaptability and high-quality light enhance both safety and comfort in various environments. As you upgrade your lighting, you take a step towards a more efficient and environmentally friendly lifestyle.


