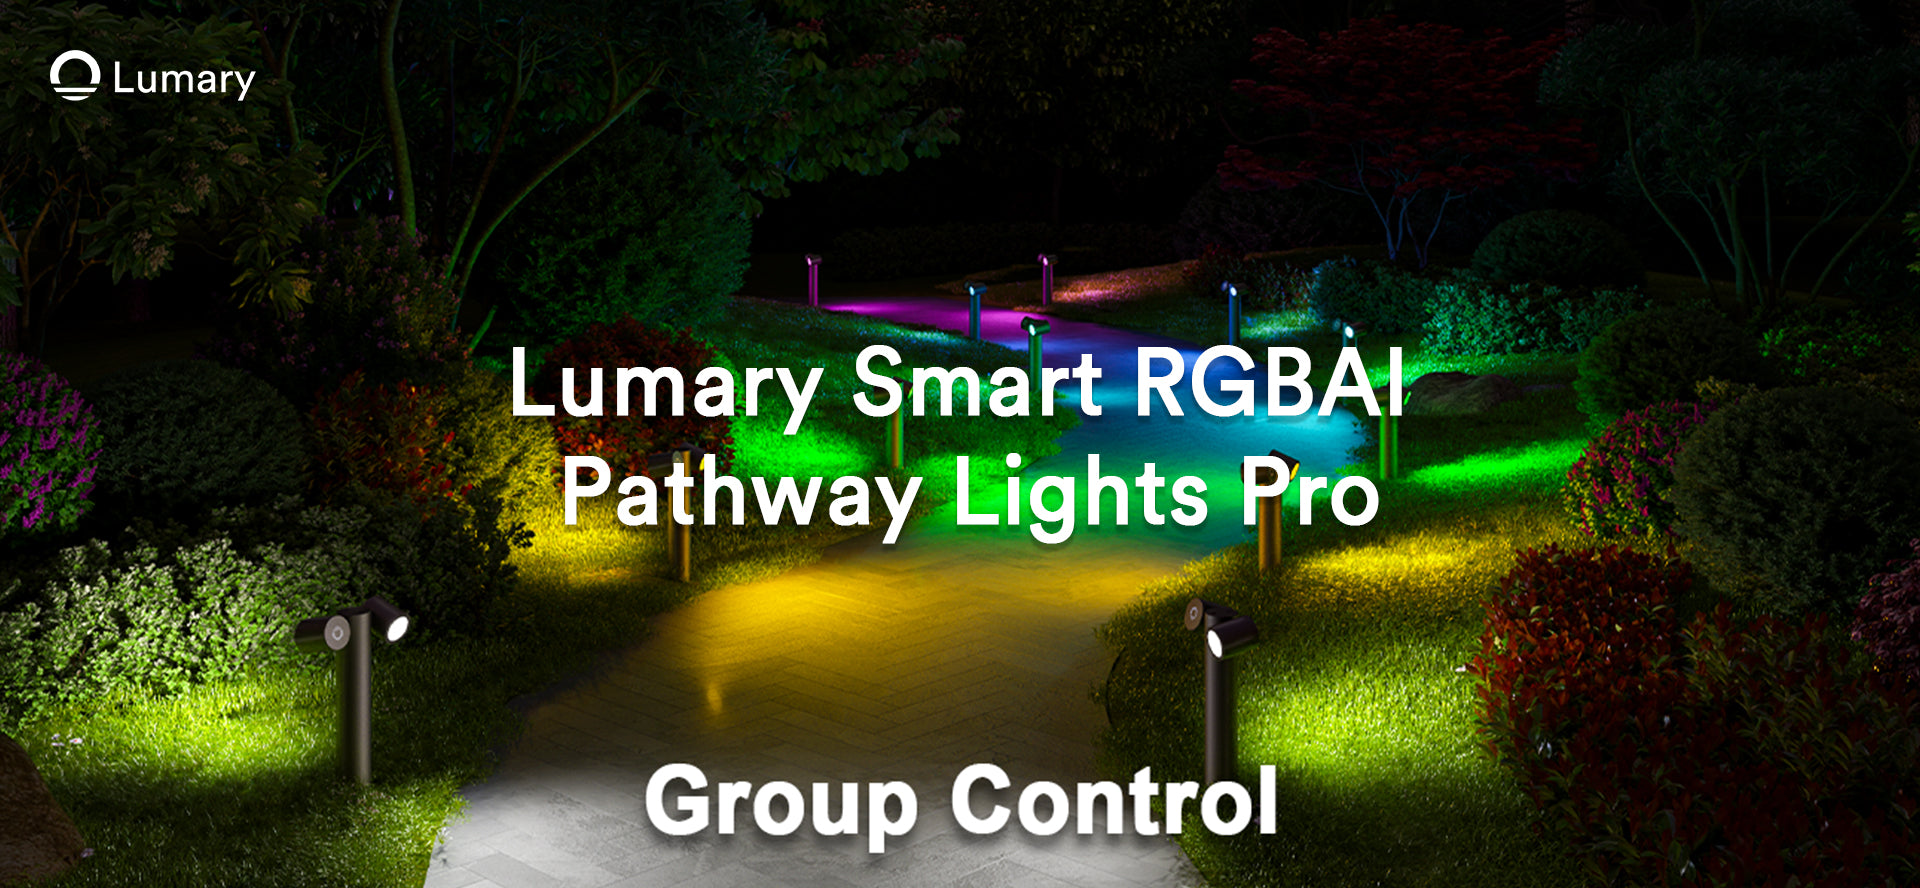
Transform your outdoor space with ease using remote control outdoor lights. The Lumary Smart RGBAI Pathway Lights Pro offers vibrant colors and smart functionality for your yard. With the convenience of controlling the lights from your phone, you can choose from a wide range of colors and adjust the brightness to suit any occasion. Whether it's a party or a gathering, these lights enhance both the safety and aesthetics of your outdoor area. Embrace the convenience and benefits that come with modern technology in your home.
Getting Ready to Install

Staying Safe
Turning off the power at the breaker
First, make sure you are safe. Turn off the power at the breaker. Find the right switch and turn it "off". This stops accidents with electricity while you work.
Collecting tools and materials
Next, get all your tools and materials. You need a screwdriver, wire stripper, and the light kit. Having everything ready makes things easier.
Knowing Your Product
Reading the instructions from the maker
Read the maker's instructions carefully. Look at each step to know how to install it. This helps you do it right.
Learning about the parts
Learn about what's in your kit. Find each part like lights, remote control, and receiver unit. Knowing what each does helps you install them well.
Step-by-Step Installation Process

Wiring the Remote Control Switch
Identifying the correct wires
Look at the wires in your setup. Find the wires that match the instructions. Use the guide to make sure you pick the right ones. Double-check to avoid mistakes.
Connecting the wires securely
Grab your wire stripper. Strip the ends of the wires. Twist them together tightly. Use wire connectors to keep them secure. Make sure everything is snug and safe.
Mounting the Receiver Unit
Choosing the optimal location
Find a good spot for the receiver unit. Pick a place close to the lights. Make sure the remote can reach it. Avoid areas with too much moisture.
Securing the unit in place
Use screws to attach the receiver unit. Make sure it’s firm and won’t move. Check that the unit is stable. This keeps everything working smoothly.
Programming and Testing
Programming the Remote Control
Ready to make your remote control outdoor lights work like magic? Let's dive into programming the remote control. First, grab the remote control and check out the buttons. Each button has a function, so familiarize yourself with them. The remote control lets you change colors, adjust brightness, and turn the lights on or off. Feel free to explore these options.
Next, sync the remote control with the receiver unit. Press the pairing button on the receiver unit. Hold it until the light blinks. Then, press the corresponding button on the remote control. This action pairs the two devices. Now, your remote control outdoor lights are ready for action.
Testing the System
Time to test those remote control outdoor lights! Turn on the lights using the remote control. Check if all lights respond as expected. Try changing colors and adjusting brightness. Ensure each function works smoothly. If everything looks good, you're all set!
Encountering issues? No worries. Troubleshooting common problems is easy. If the lights don't respond, check the battery in the remote control. Make sure the receiver unit is within range. Double-check the wiring connections. These simple steps often solve most issues.
"Now you have one fine looking remote control - time to go and take over the world."
Programming and testing remote control outdoor lights can be a fun DIY project. Enjoy the convenience of controlling your outdoor ambiance with just a click. Your outdoor space will never be the same again!
Making the Most of Light Placement
Ideas for Best Placement
Improving how it looks
Think about where lights should go to look nice. Shine on paths, gardens, or cool spots in your yard. Use lights to make a friendly feel. Try different angles and spots. See what looks best for your place.
Getting more light and saving energy
Put lights to cover lots of space. Don't leave dark areas by spreading lights evenly. Think about each light's height and angle. Make sure lights reach all key places. Check if the setup uses less power but stays bright. Adjust settings to save energy while keeping it lit.
Remote control lights make your yard look amazing. You can change colors and brightness easily. Turn your garden into a magical spot. These lights are simple to use at home. Set the mood for any event with them. Try out different settings and see what you like. Enjoy how these lights make your outdoor space better and more useful.


