Outdoor lighting does more than just brighten your yard—it plays a key role in keeping your home safe. Well-placed exterior home lights can deter intruders by eliminating dark hiding spots and improving visibility around your property. You’ll feel more at ease knowing your home is well-lit and secure.
Strategic placement is essential. Lights near entry points, pathways, and dark corners make it harder for anyone to approach unnoticed. Modern lighting solutions, like motion-sensor lights or smart pathway lights, offer convenience and energy efficiency while boosting enhanced home security. With the right setup, you can protect your home and enjoy peace of mind.

Key Takeaways
-
Look at your home's layout to find weak spots for lights. Focus on doors, walkways, and dark areas to improve safety.
-
Pick the right outdoor lights. Motion-sensor lights save power and scare intruders. Floodlights are bright and remove hiding places.
-
Place lights smartly for better visibility. Put them above cameras and along paths to stop intruders and get clear video.
-
Take care of your outdoor lights often. Clean them, fix broken wires, and change burnt-out bulbs to keep them working well.
-
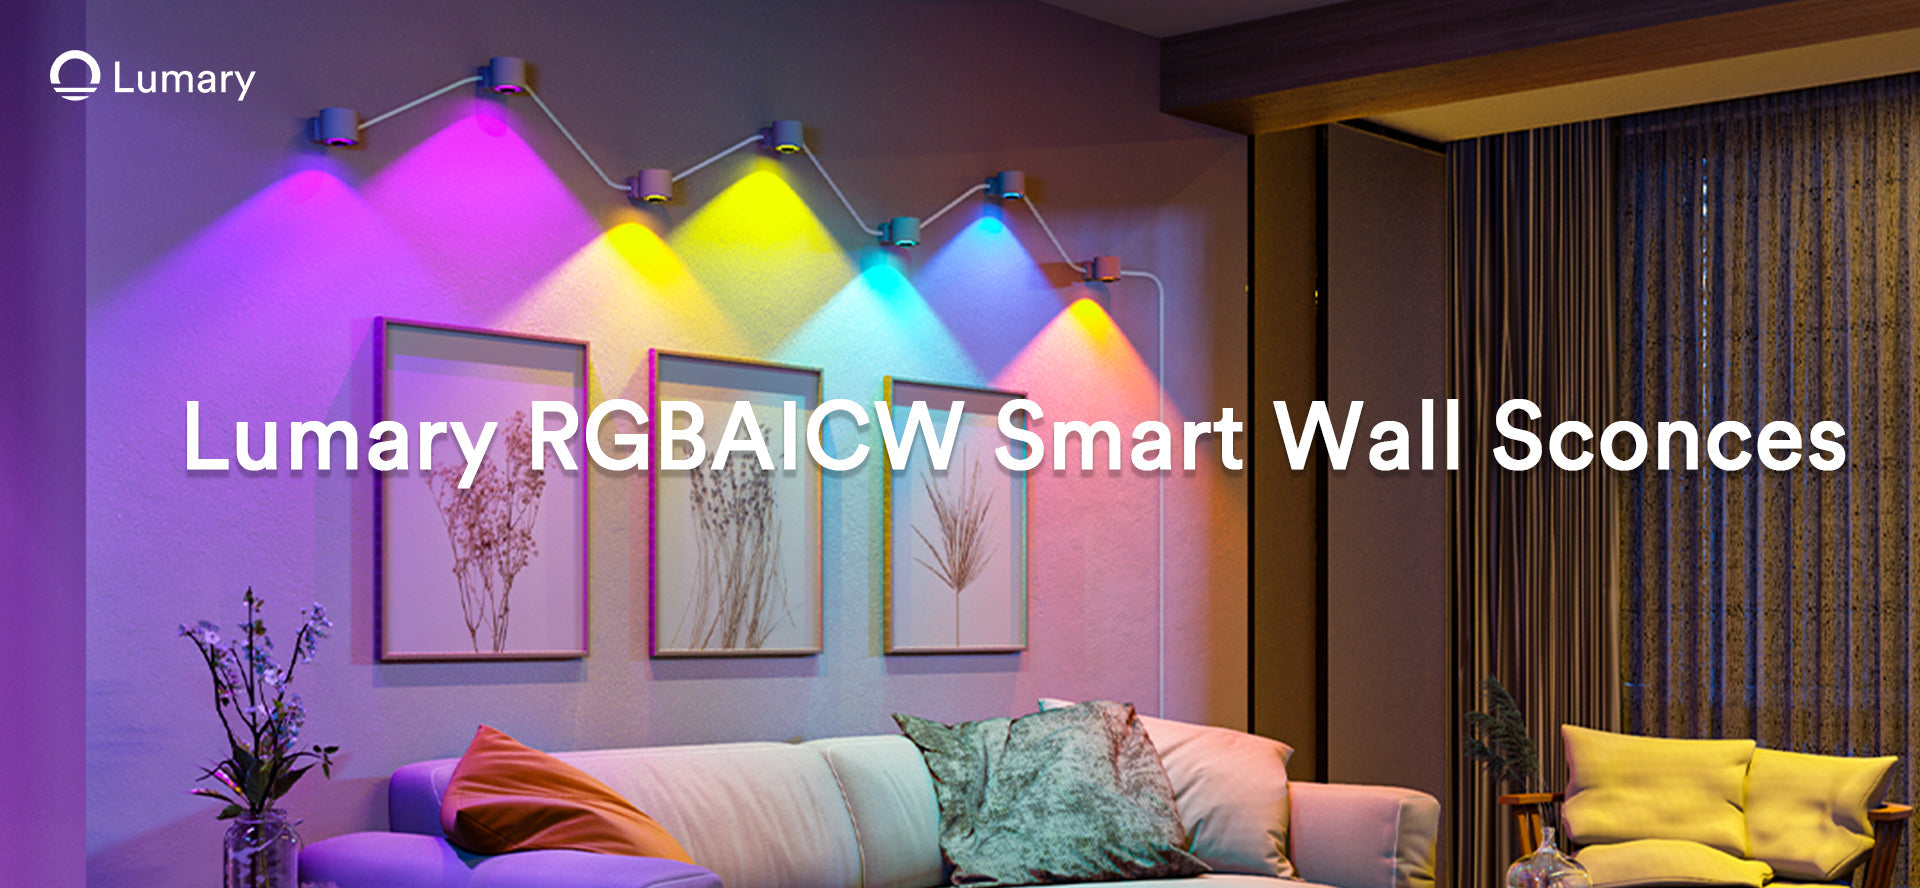
Think about using smart lights. Choices like Lumary Smart Path Lights add cool features and make your home safer and stylish.
Planning Your Outdoor Lighting Installation
Assessing Your Home’s Security Needs
Before you install outdoor lighting, take a good look at your home’s layout. Start by identifying areas that might be vulnerable. Entry points like doors, windows, and garages are common spots intruders target. Pathways and dark corners also need attention since they can provide cover for unwanted visitors.
Next, think about the size and shape of your property. A small yard might only need a few lights, while a larger space could require more fixtures for full coverage. Walk around your home at night to see where shadows fall and where visibility is poor. This will help you figure out exactly where lighting is needed.
Choosing the Right Exterior Home Lights
Not all outdoor lighting is the same. Different types serve different purposes. Floodlights are great for lighting up large areas like driveways or backyards. They provide bright, wide coverage, making it hard for anyone to hide.
Motion-sensor lights are another excellent choice. They save energy by only turning on when movement is detected. Plus, they can startle intruders, making them think twice about approaching.
For pathways, consider using Lumary Smart Landscape Path Lights. These lights not only improve safety but also add a stylish touch to your yard. With features like adjustable brightness and millions of color options, they’re both functional and decorative.
Determining Strategic Placement
Placement is key when you install outdoor lighting. Position lights above security cameras to eliminate blind spots. This ensures your cameras capture clear footage. Place lights near entry points and along pathways to make it harder for anyone to sneak around unnoticed.
Be careful not to create shadows or glare. Poor placement can reduce visibility instead of improving it. Test your setup at night to make sure everything is well-lit and effective.
Tools and Materials for Outdoor Lighting Installation
Before you start installing your outdoor lighting, it’s important to gather the right tools and materials. Having everything ready will save you time and make the process smoother. Let’s break it down into what you’ll need.
Essential Tools
You’ll need a few basic tools to get the job done. Here’s a quick list:
-
A drill for creating holes to mount your outdoor light fixtures.
-
A screwdriver to secure screws and brackets.
-
A ladder to reach higher spots like walls or eaves.
If you’re handling electrical work, grab a pair of wire strippers to remove insulation from wires. A voltage tester is also essential to ensure the power is off before you start working. Safety first!
Necessary Materials
When it comes to materials, choosing the right ones is key to a successful installation. Start with outdoor-rated light fixtures. These are designed to withstand weather conditions and last longer. For example, Lumary Smart Landscape Path Lights are a great option. They combine durability with advanced features like adjustable brightness and color options.
You’ll also need weatherproof electrical boxes to protect your wiring from rain and moisture. Pair these with cables and connectors that are rated for outdoor use. This ensures your setup stays safe and functional over time.

Finally, don’t forget mounting hardware and fasteners. These will keep your outdoor light fixtures securely in place, even during strong winds or storms. Double-check that everything is sturdy before moving on to the next step.
Pro Tip: Always choose materials specifically designed for outdoor use. This will help your lighting system last longer and perform better.
By having the right tools and materials on hand, you’ll set yourself up for a hassle-free installation. Plus, you’ll ensure your outdoor light fixtures are safe, secure, and ready to enhance your home’s security.
Step-by-Step Guide to Install Outdoor Lighting
Preparing for Installation
Turn off the power supply to ensure safety.
Before you start, safety should be your top priority. Locate your home’s circuit breaker and turn off the power supply to the area where you’ll be working. Use a voltage tester to double-check that no electricity is flowing to the wires. This step ensures you avoid any accidents during the outdoor lighting installation process.
Mark the locations for light fixtures based on your plan.
Grab your plan and mark the exact spots where you’ll install the lights. Use a pencil or chalk to make these marks visible. Think about the placement carefully—entry points, pathways, and dark corners are key areas to focus on. Proper outdoor lighting installation starts with a well-thought-out layout, so take your time with this step.
Mounting the Fixtures
Drill holes and secure mounting brackets to the wall or surface.
Once you’ve marked the locations, it’s time to drill. Use a drill to create holes for the mounting brackets. Make sure the holes are the right size for the screws you’ll use. Secure the brackets firmly to the wall or surface. This ensures your fixtures stay in place, even during bad weather.
Attach the light fixture to the bracket securely.
Next, attach the light fixture to the mounting bracket. Follow the manufacturer’s instructions for this step. Tighten all screws to keep the fixture stable. A secure installation not only looks professional but also ensures your outdoor lighting system functions properly.
Wiring the Lights
Connect wires according to the manufacturer’s instructions.
Now comes the part where you’ll handle the electrical connections. Carefully connect the wires from the light fixture to the power source. Match the wire colors as specified in the manufacturer’s guide. If you’re unsure, consult a professional to avoid mistakes during this step of wiring outdoor lights.
Use weatherproof connectors to protect the wiring from the elements.
Outdoor lighting installation requires extra care to protect your setup from rain and moisture. Use weatherproof connectors to seal the electrical connections. This step prevents water from damaging the wiring and ensures your lights work reliably for years to come.
Pro Tip: Always double-check your electrical connections before restoring power. This helps you catch any errors early and keeps your system safe.
By following this step-by-step installation guide, you’ll set up a secure and efficient outdoor lighting system. Take your time, and don’t rush through the process. A little extra effort now will save you from headaches later.
Securing and Testing the System
Tighten all screws and ensure the fixtures are stable.
Once your lights are mounted and wired, it’s time to make sure everything is secure. Go back to each fixture and check the screws. Tighten them firmly so the lights stay in place, even during windy or rainy weather. Loose fixtures can wobble or fall, which not only looks bad but also affects their performance.
Pay attention to the brackets and mounting hardware. If anything feels unstable, adjust it now. A stable setup ensures your lights work properly and adds to your home security. You don’t want to risk a light falling or shifting, leaving parts of your yard in the dark. Take a few extra minutes to double-check everything. It’s worth it for peace of mind.
Restore power and test the lights for proper functionality.
Now comes the exciting part—testing your new outdoor lighting system! Head to your circuit breaker and restore power to the area. Once the electricity is back on, turn on the lights and see how they look.
Walk around your property to check each fixture. Are all the lights working? Do they illuminate the areas you planned? If you installed motion-sensor lights, test their detection range by walking through the zones. For those who chose to install outdoor spotlights, make sure they’re aimed correctly to cover large areas and enhance your home security.
If something doesn’t seem right, don’t panic. It could be a loose wire or a small adjustment needed in the placement. Fix any issues now to avoid problems later. Testing ensures your lights are ready to keep your home safe and well-lit.
Pro Tip: Test your lights at night for the best results. This helps you see how well they illuminate your property and identify any dark spots.
By securing and testing your system, you’re taking the final steps to improve your home security. A well-lit yard not only deters intruders but also makes your outdoor spaces more inviting.
Testing and Adjusting Your Outdoor Lighting
Ensuring Optimal Coverage
Once your outdoor lights are installed, it’s time to make sure they’re doing their job. Walk around your property at night and check if all areas are well-lit. Pay close attention to entry points, pathways, and any dark corners. These spots are often where intruders might try to hide. If you notice any shadows or dim areas, you’ll need to adjust your lights.
Angle your fixtures to maximize illumination. For example, tilt floodlights slightly downward to cover a wider area without creating glare. Glare can reduce visibility and make it harder to see what’s happening around your home. You want a balance—bright enough to deter intruders but not so harsh that it blinds you or your neighbors.
Take your time with this step. Proper adjustments lead to improved security and better visibility, making your home safer and more welcoming.
Testing Motion-Sensor Features
If you’ve installed motion-sensor lights, now’s the time to test them. Walk through the detection zones to see if the lights activate as expected. Start at different distances and angles to ensure the sensors pick up movement effectively. Motion-sensor lights are great for catching intruders off guard, but they need to work reliably to be effective.
Next, adjust the sensitivity settings. If the lights turn on too easily, like when a leaf blows by, lower the sensitivity. On the other hand, if they don’t activate when you walk through, increase it. Most motion-sensor lights also let you set a timer for how long they stay on. A timer of 1-2 minutes is usually enough to scare off intruders while saving energy.
Testing and fine-tuning your motion-sensor lights ensures they perform at their best. This step is crucial for achieving improved security and keeping your property well-lit.
Pro Tip: Test your motion-sensor lights at night for the most accurate results. This helps you see how they respond in real-world conditions.
Maintenance Tips for Long-Lasting Outdoor Lighting
Keeping your outdoor lighting in top shape doesn’t have to be a hassle. A little maintenance goes a long way in ensuring your lights stay functional and effective. Here’s how you can keep your system running smoothly.
Regular Cleaning and Inspection
Remove dirt and debris from light fixtures and lenses.
Outdoor lights can collect dirt, dust, and even cobwebs over time. This buildup can dim the light and reduce its effectiveness. Use a soft cloth or a gentle brush to clean the fixtures and lenses. For stubborn grime, a mild soap solution works wonders. Regular cleaning keeps your lights shining bright and your yard well-lit.
Check for loose wires or damaged components.
Inspect your landscape lighting wire regularly. Look for frayed or exposed wires that could cause malfunctions. Tighten any loose connections you find. Damaged components, like cracked lenses or corroded parts, should be replaced immediately. This step ensures your security outdoor lighting system stays reliable.
Seasonal Adjustments
Adjust light angles to account for seasonal changes in daylight.
As the seasons change, so does the angle of sunlight. Adjust your lights to maintain optimal coverage throughout the year. For example, in winter, you might need to tilt fixtures slightly to compensate for longer shadows. This keeps your yard evenly lit no matter the time of year.
Ensure fixtures are weatherproofed for extreme conditions.
Outdoor lights face harsh weather, from heavy rain to freezing temperatures. Check that your fixtures are sealed and weatherproof. If you notice any gaps or wear, apply a waterproof sealant. This simple step protects your system and extends its lifespan.
Replacing and Upgrading
Replace burnt-out bulbs promptly to maintain security.
A burnt-out bulb can leave parts of your yard in the dark, creating potential security risks. Replace bulbs as soon as they go out. Keep a few spares on hand so you’re always prepared. This small effort keeps your home safe and well-lit.
Consider upgrading to smart lighting solutions like Lumary Smart Landscape Path Lights.
If your current setup feels outdated, it might be time for an upgrade. Smart lighting options, like Lumary Smart Landscape Path Lights, offer advanced features like adjustable brightness and millions of color options. They’re durable, stylish, and easy to control through an app or voice commands. Upgrading your system not only enhances security but also adds a modern touch to your outdoor spaces.
By following these maintenance tips, you’ll ensure your outdoor lighting system stays effective and long-lasting. A little care goes a long way in keeping your home safe and beautifully lit.
Installing exterior home lights is one of the simplest ways to boost your home’s security. By planning carefully, you can identify the areas that need attention and choose the right fixtures for the job. Proper installation and regular maintenance ensure your exterior lighting stays effective for years.
Modern options like motion-sensor lights and smart pathway lights make it easier than ever to combine safety with style. Why wait? Start your project today and enjoy a safer, more welcoming home. You’ve got this!
FAQ
What type of outdoor lights work best for security?
Motion-sensor lights and floodlights are excellent for security. Motion-sensor lights activate when they detect movement, surprising intruders. Floodlights provide wide, bright coverage, eliminating dark spots. For pathways, smart lights like Lumary Smart Landscape Path Lights combine safety with style, offering customizable brightness and colors.
How do I choose the right placement for outdoor lights?
Focus on entry points, pathways, and dark corners. Place lights above security cameras to avoid blind spots. Test your setup at night to ensure even coverage without glare. Proper placement improves visibility and deters intruders effectively.
Can I install outdoor lights without professional help?
Yes, you can! With the right tools and materials, installing outdoor lights is manageable. Follow the manufacturer’s instructions carefully. If you’re unsure about wiring, consult a professional for safety. Always turn off the power before starting.
How do I maintain my outdoor lighting system?
Clean fixtures regularly to remove dirt and debris. Inspect wires for damage and replace burnt-out bulbs promptly. Adjust light angles seasonally for optimal coverage. Consider upgrading to durable, smart options like Lumary Smart Landscape Path Lights for long-lasting performance.
Are smart outdoor lights worth it?
Absolutely! Smart lights offer convenience, energy efficiency, and advanced features like app control and customizable colors. They enhance security while adding a modern touch to your home. Lumary Smart Landscape Path Lights, for example, provide durability, style, and easy control options.