Outdoor smart lights have revolutionized how you light up your home. They boost security, create a cozy ambiance, and save energy. With outdoor WiFi lights, you can control everything from your phone. Whether you want to install smart outdoor lights for safety or style, the installation process is easier than ever.

Key Takeaways
-
Pick outdoor smart lights that fit your needs. Think about brightness, colors, and if they work with your smart home system.
-
Make sure you have a steady power source. Look for outlets nearby and use waterproof plugs to keep them safe from weather.
-
Get all tools and materials ready first. Being prepared will make installing easier and faster.
Planning Your Outdoor Smart Light Installation
Choosing the Right Outdoor Smart Light for Your Needs
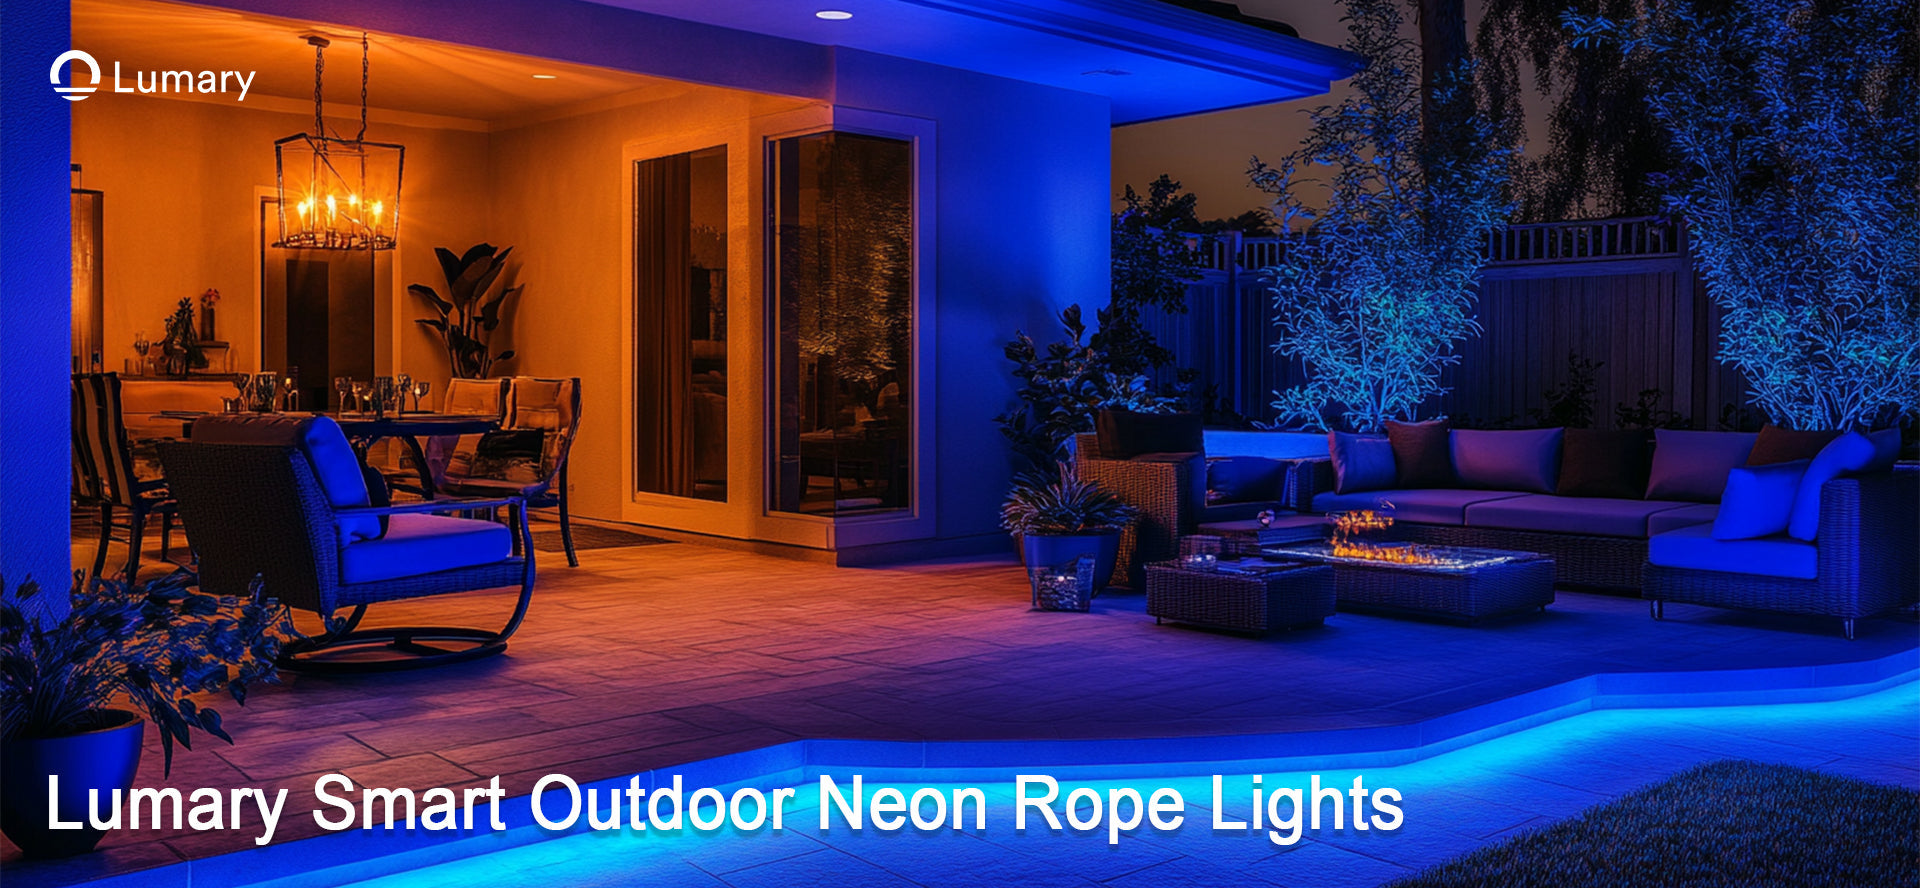
Before you dive into installing outdoor wifi lights, it’s important to pick the right ones for your space. Think about what you want to achieve. Are you looking to brighten up your garden, add security to your driveway, or create a cozy vibe for your patio? Each goal might require a different type of light. For example, the Lumary Smart LED Outdoor Landscape Lights are perfect if you want customizable colors and smart features. Look for lights that are weatherproof and durable, especially if you live in an area with harsh weather. Also, check if the lights are compatible with your smart home system, like Alexa or Google Assistant. Choosing the right smart light outdoor ensures you get the most out of your investment.
Assessing Your Outdoor Space for Installation
Take a walk around your outdoor area and figure out where you want to place the lights. Look for spots that need better visibility or could use a decorative touch. Pay attention to the layout of your yard, garden, or patio. Make sure the lights won’t be blocked by plants, furniture, or other obstacles. If you’re installing outdoor wifi lights, check the strength of your WiFi signal in those areas. Weak signals can cause connectivity issues. You might need a WiFi extender to ensure smooth operation.
Ensuring a Reliable Power Supply
Outdoor wifi lights need a steady power source to work properly. Check if there are nearby outlets where you plan to install the lights. If not, you might need to use extension cords or hire an electrician to add outlets. For safety, make sure all connections are weatherproof. Some lights, like the Lumary Smart LED Outdoor Landscape Lights, come with long cables, which can make installation easier. Just remember, the plug itself might not be waterproof, so keep it protected from rain or snow.
Tools and Materials for Installing Smart Outdoor Lights
Essential Tools for Installation
Before you start installing outdoor wifi lights, gathering necessary tools is key. Having the right tools on hand makes the process smoother and saves you from unnecessary interruptions. Here’s what you’ll need:
-
Screwdriver: A basic tool for securing mounting brackets or screws.
-
Drill: If you’re mounting lights on walls or hard surfaces, a drill is essential.
-
Measuring Tape: Use this to measure distances and ensure proper placement.
-
Ladder: For higher installations, a sturdy ladder is a must.
-
Wire Strippers: These are handy if you need to adjust or connect wires.
-
Voltage Tester: Safety first! Use this to confirm the power is off before handling wires.
Having these tools ready ensures you can install your lights efficiently and safely.
Materials Checklist for Outdoor WiFi Lights
When setting up outdoor wifi lights, you’ll also need a few materials to complete the job. Here’s a checklist to keep you organized:
-
Outdoor WiFi Lights: Choose durable, weatherproof options like the Lumary Smart LED Outdoor Landscape Lights.
-
Smart Outdoor Plug or Outlet: These are perfect for connecting your lights to a power source while keeping them smart-enabled.
-
Extension Cords: If your outdoor outlet is far from the installation site, an extension cord can bridge the gap.
-
Cable Clips or Zip Ties: Use these to secure cables and keep them tidy.
-
Waterproof Covers: Protect your smart outdoor plug or connections from rain and snow.
-
Mounting Hardware: Check if your lights come with brackets or screws. If not, purchase them separately.
With these materials, you’ll have everything you need to set up your lights without any last-minute trips to the store.
Pro Tip: Double-check your materials and tools before starting. It’s better to have everything ready than to pause mid-installation!
Step-by-Step Installation Guide for Outdoor Smart Lights

Mounting the Lights Securely
Start by deciding where you want to place your outdoor wifi lights. Once you’ve picked the perfect spots, grab your tools and get to work. Use a measuring tape to mark the exact positions for each light. This ensures even spacing and a polished look. If you’re mounting the lights on walls or fences, use a drill to create holes for the screws. Secure the mounting brackets tightly with a screwdriver. For ground installations, push the stakes into the soil firmly. Make sure they’re stable and won’t tip over.
Pro Tip: Test the placement by temporarily setting up the lights and checking how they illuminate your space before finalizing.
Connecting to Power and Ensuring Safety
Now it’s time to power up your outdoor wifi lights. Plug them into an outdoor outlet or use a smart outdoor plug for added convenience. If the outlet is far, an extension cord can help bridge the gap. Keep all connections safe from the elements by using waterproof covers. Before handling any wires, use a voltage tester to ensure the power is off. Double-check that all cables are secure and tucked away to avoid tripping hazards.
Safety Note: Never leave the plug exposed to rain or snow. Protect it with a weatherproof box for long-term durability.
Configuring Smart Features and WiFi Setup
Once your lights are mounted and powered, it’s time to make them smart! Download the app recommended by your light’s manufacturer. For example, the Lumary app works great with their LED outdoor wifi lights. Follow the app’s instructions to connect the lights to your home WiFi network. Make sure your WiFi signal is strong in the installation area. If needed, use a WiFi extender. After connecting, customize the settings. Adjust brightness, set timers, or sync the lights to music for a fun vibe.
Quick Tip: Test the smart features right after setup to ensure everything works smoothly.
Testing and Troubleshooting Outdoor Smart Lights
Verifying Proper Functionality
Once you’ve completed the installation process, it’s time to test your outdoor wifi lights. Start by turning them on and checking if they light up as expected. Walk around your outdoor space to ensure the lights illuminate the intended areas. If you’ve used a smart outdoor plug, confirm that it’s working properly by toggling the lights on and off through the app or voice commands. Test the brightness levels, color options, and any preset modes to make sure everything is functioning as advertised. Don’t forget to check the timer and scheduling features. These are essential for enhancing security and convenience.
Pro Tip: Test the lights at night to see how well they brighten your space and adjust their placement if needed.
Troubleshooting Common Installation Issues
If your outdoor wifi lights aren’t working, don’t panic. Start by checking the power source. Ensure the outdoor outlet is functioning and all connections are secure. If you’re using an extension cord, confirm it’s plugged in properly. Next, verify the WiFi connection. Weak signals can cause the lights to disconnect. Move your router closer or use a WiFi extender to boost the signal. If the lights still won’t connect, reset them and try pairing them with the app again.
Quick Fix: Sometimes, simply unplugging and re-plugging the lights can resolve minor issues.
Adjusting Settings for Optimal Performance
Once your lights are up and running, fine-tune the settings for the best experience. Use the app to adjust brightness levels and colors to match your mood or event. Experiment with different scene modes to find what works best for your space. If you notice any lag in response time, check your WiFi signal strength. For added convenience, set up schedules to automate your lights. This not only saves energy but also boosts security by making your home look occupied even when you’re away.
Pro Tip: Sync your lights with music for parties or special occasions to create a lively atmosphere.
Tips for Maintaining and Maximizing Your Outdoor Smart Lights
Maintenance Tips for Longevity
Keeping your outdoor led smart lights in top shape doesn’t have to be complicated. Regular cleaning is key. Dust and debris can build up on the lights, reducing their brightness. Use a soft cloth or a gentle brush to wipe them down every few weeks. For stubborn dirt, a damp cloth works wonders. Check the connections too. Make sure cables and plugs are secure and free from damage. If you live in an area with harsh weather, inspect your lights after storms. Look for signs of wear or water damage.
Don’t forget to update the firmware of your smart lighting systems. Manufacturers often release updates to improve performance or add new features. You can usually do this through the app. Staying on top of updates ensures your lights work smoothly for years to come.
Enhancing Energy Efficiency
Outdoor smart lighting is already energy-efficient, but you can take it a step further. Use the scheduling feature in your app to turn the lights off during the day. Set timers to only use the lights when needed. Dimming the brightness also saves energy while creating a cozy atmosphere. If your lights have motion sensors, enable them. This way, they only turn on when someone is nearby. Small adjustments like these can make a big difference in energy efficiency.
Recommended Outdoor Smart Light Brands for 2025
Choosing the right brand makes all the difference. Lumary stands out with its innovative outdoor led smart lights. Their products combine durability, style, and advanced features. If you’re looking for outdoor string lights, brands like Philips Hue and Govee offer excellent options. They provide vibrant colors and reliable performance. Always go for brands known for quality and customer support. This ensures you get the most out of your investment.
Pro Tip: Read reviews and compare features before buying. It helps you pick the best lights for your needs.
Installing outdoor wifi lights in 2025 is easier than ever. You can boost your home’s security, save energy, and create a stunning outdoor ambiance. By following this guide, you’ll set up your outdoor smart light quickly and enjoy its benefits. Why wait? Start transforming your outdoor space today!
FAQ
How do I connect my outdoor smart lights to WiFi?
Download the manufacturer’s app, follow the setup instructions, and ensure a strong WiFi signal. Use a WiFi extender if needed for better connectivity.
Can I control my outdoor smart lights without a smartphone?
Yes! Many smart lights, like Lumary, work with voice assistants like Alexa or Google Assistant. You can also use a remote control if included.
What should I do if my lights stop responding?
Check the power source and WiFi connection. Reset the lights and reconnect them through the app. If issues persist, consult the user manual or contact support.
Pro Tip: Always keep your app and light firmware updated for smooth performance!