


LED ceiling can lights offer a sleek and modern lighting solution for any room. These lights provide efficient illumination while saving energy. Installing LED ceiling can lights yourself brings several benefits. You save money by avoiding electrician fees. DIY projects also give a sense of accomplishment. You gain valuable skills and experience. The process is straightforward and rewarding. With the right tools and guidance, you can transform your space with beautiful lighting.
Tools and Materials Needed for LED Ceiling Can Lights

Essential Tools
Drills and saws
You need a drill for making holes in the ceiling. A hole saw attachment helps create precise openings for the lights. Ensure the size matches the diameter of the LED can lights. A jigsaw can assist in cutting through thicker materials. Always have a steady hand when using these tools.
Screwdrivers and pliers
Screwdrivers come in handy for securing the lights in place. Both flathead and Phillips screwdrivers are useful. Pliers help with gripping and twisting wires. Needle-nose pliers work best for tight spaces. These tools ensure a firm and safe installation.
Required Materials
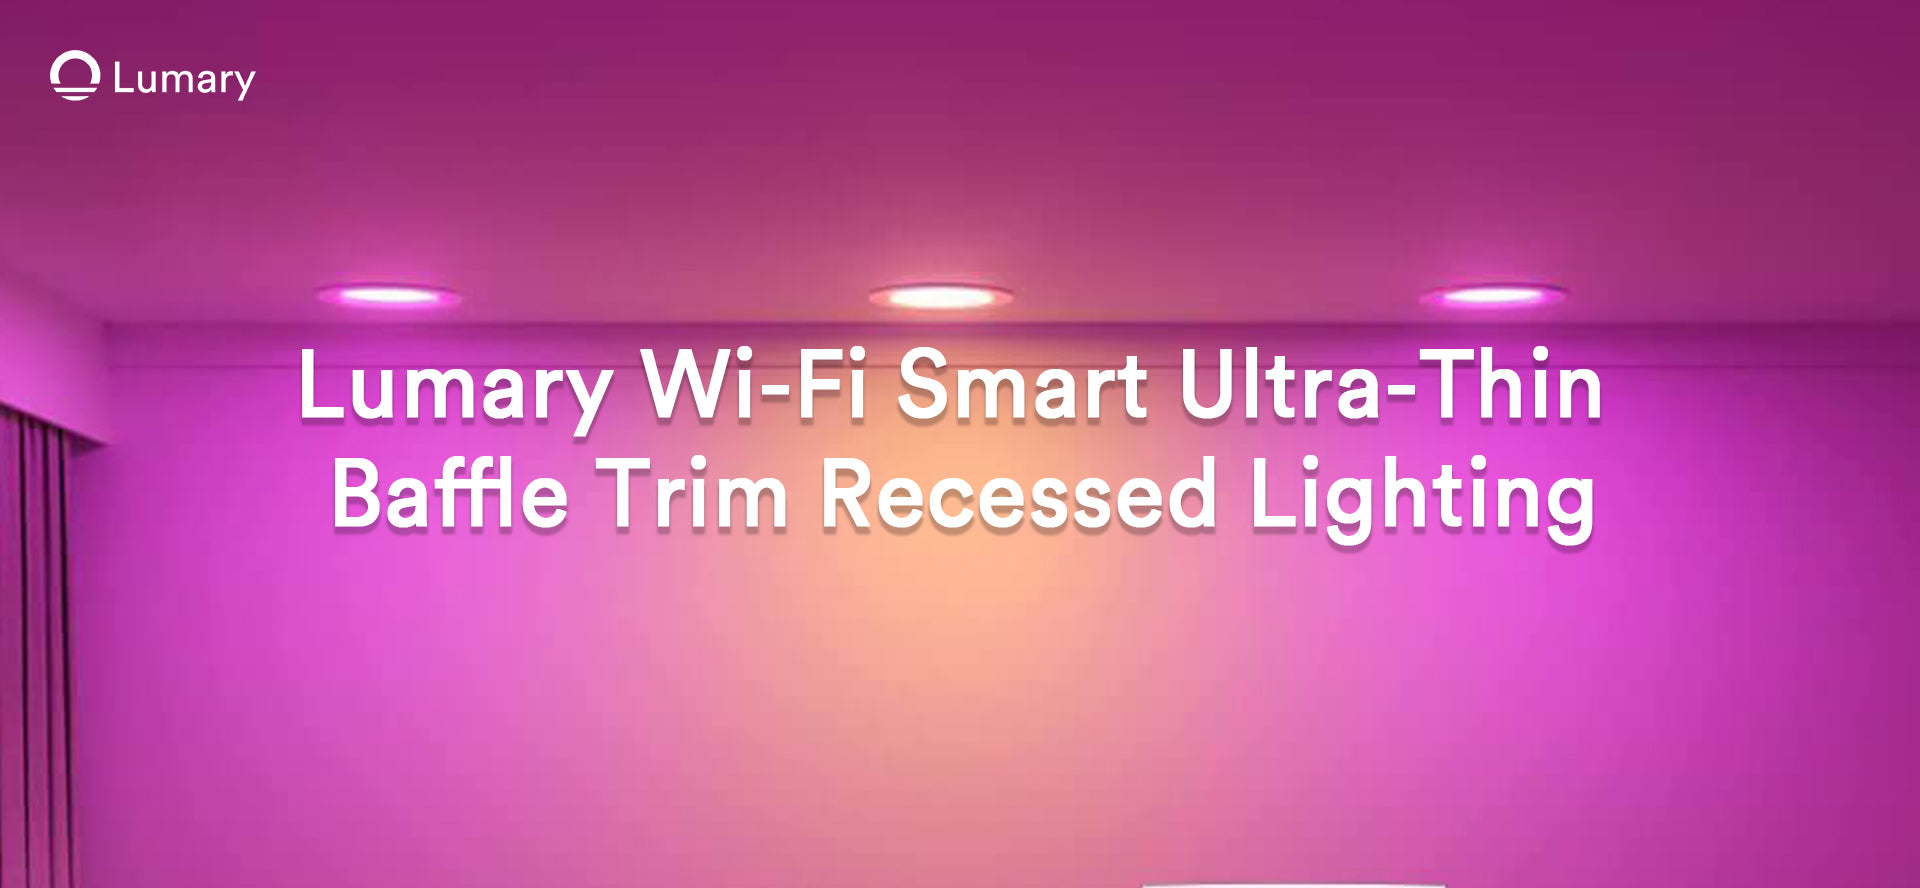
Lumary Wi-Fi Smart Ultra-Thin Baffle Trim Recessed Lighting
The Lumary Wi-Fi Smart Ultra-Thin Baffle Trim Recessed Lighting offers a sleek design. This lighting solution fits seamlessly into any ceiling. The lights provide a range of color temperatures from 2700K to 6500K. You can choose from 16 million colors to set the mood. The remote control and app compatibility make adjustments easy. These lights sync with music for a dynamic atmosphere. Each pack includes four recessed lights and installation kits.
Wiring and connectors
Proper wiring ensures the lights function correctly. Use connectors to join wires securely. Always check that the wires are compatible with the LED lights. Maintain a safe distance between each light for even distribution. Keep all electrical connections within a junction box. This setup complies with safety regulations.
Preparation Steps
Planning the Layout for LED Ceiling Can Lights
Determining light placement
Start by deciding where you want the LED ceiling can lights. Think about the room's purpose and how much light you need. For example, a kitchen might require more lighting than a bedroom. Use a formula to calculate the ideal placement. Consider the surface or area you want to illuminate. Keep a distance of about 4 to 5 feet between each 4-inch light. This ensures even light distribution. Place fixtures approximately 2.5 feet from the wall to avoid shadows.
Measuring and marking
Once you decide on the placement, grab a measuring tape. Measure the distances carefully. Mark the spots on the ceiling with a pencil. Use a template from the light manufacturer for accuracy. This helps ensure that the holes you cut will fit the lights perfectly. Double-check your measurements before moving on. Accurate marking saves time and prevents mistakes during installation.
Gathering Tools and Materials
Checking inventory
Before you start, make sure you have all the tools and materials. Check your inventory against the list provided earlier. Ensure you have the Lumary Wi-Fi Smart Ultra-Thin Baffle Trim Recessed Lighting. Verify that you have the necessary wiring and connectors. Missing items can delay your project, so it's best to gather everything beforehand.
Organizing workspace
Create a clean and organized workspace. Lay out your tools and materials in an orderly fashion. This makes it easier to find what you need during installation. Clear any clutter from the area where you'll be working. A tidy workspace reduces the risk of accidents. It also helps you focus on the task at hand. Remember, preparation is key to a successful DIY project.
Installation Process
Cutting Holes in the Ceiling
Using a template
Start by using a template to mark the spots on the ceiling. Templates ensure precise cuts for your LED ceiling can lights. Place the template where you want each light. Trace around it with a pencil. This step helps avoid mistakes when cutting.
Ensuring proper size
Grab your hole saw attachment. Make sure it matches the size of the template. Drill carefully along the marked line. Keep a steady hand to avoid uneven edges. Check the hole size before moving on. A perfect fit makes installation smoother.
Wiring the Lights
Connecting wires
Turn off the power at the breaker. Safety first! Connect the wires from the light fixture to the junction box. Match the colors: black to black, white to white, and ground to ground. Use wire connectors for secure connections. Andrew, a lighting contractor, emphasizes the importance of tight connections for safety.
Securing connections
Double-check each connection. Tug gently to ensure wires stay in place. Secure all connections within the junction box. This step complies with safety regulations. Properly secured wires prevent future issues.
Installing the LED Ceiling Can Lights
Fitting lights into holes
Insert the LED ceiling can lights into the cut holes. Align them carefully. Push gently until they sit flush with the ceiling. The ultra-thin design of Lumary lights makes this step easy. Ensure a snug fit for a seamless look.
Securing with clips or screws
Use clips or screws to secure the lights. Follow the manufacturer's instructions for best results. Tighten screws or clips to hold the lights firmly. Avoid over-tightening to prevent damage. Enjoy the sleek finish of your new lighting setup.
Safety Considerations
Electrical Safety
Turning off power
Always start by turning off the power at the breaker box. This step prevents electrical shocks. Check the light switch to ensure the power is off. Use a voltage tester for extra safety. This tool confirms no electricity flows through the wires.
Using insulated tools
Insulated tools protect against electric shocks. Choose screwdrivers and pliers with rubber handles. These tools keep you safe when working with wires. Avoid using metal tools without insulation. The risk of shock increases without proper tools.
Ladder Safety
Ensuring stability
A stable ladder is crucial for safety. Place the ladder on a flat surface. Check that the feet are secure and not wobbly. A shaky ladder can lead to falls. Always test stability before climbing.
Proper positioning
Position the ladder correctly for easy access. The top should rest against the wall, not the ceiling. Keep your body centered between the rails. Overreaching causes imbalance and accidents. Move the ladder instead of stretching too far. Safety comes first when working at heights.
Final Adjustments and Testing
Testing the Lights
Turning on power
First, turn on the power at the breaker. This step ensures that your LED ceiling can lights receive electricity. Flip the switch to see the lights illuminate your space. A successful power-up means you’re on the right track.
Checking for functionality
Check each light for proper functionality. Walk around the room and observe the illumination. Ensure that all lights shine brightly without flickering. If any issues arise, revisit the connections to troubleshoot.
Making Adjustments
Aligning lights
Align the lights to achieve a uniform look. Adjust each fixture so that it points in the desired direction. Proper alignment enhances the overall appearance of your room. A well-lit space creates a welcoming atmosphere.
Securing any loose fittings
Secure any loose fittings to prevent future problems. Tighten screws or clips that may have loosened during installation. Firm fittings ensure stability and longevity. Enjoy the sleek finish and admire your handiwork.
Testimonial: "The lights shine in all the right places to show our home off. Our neighbors asked us about the lights and we recommend you guys." - Mrs. Kuehler
When to Seek Professional Help
Complex Electrical Systems
Identifying complications
Sometimes, electrical systems can get tricky. You might face unexpected issues during installation. Wires may not match up, or connections might seem off. Andrew, a lighting expert, suggests looking for signs of trouble. Flickering lights or tripped breakers indicate complications. Unusual buzzing sounds also signal problems. These signs mean it's time to pause and reassess.
Consulting an electrician
When complications arise, consider calling an electrician. Professionals handle complex wiring with ease. Electricians ensure everything meets safety standards. They fix issues without risking damage to your home. Hiring an expert saves time and prevents costly mistakes. Peace of mind comes from knowing the job is done right.
Structural Concerns
Ceiling integrity
Ceiling integrity matters when installing lights. Weak spots or cracks pose risks. Heavy fixtures might cause further damage. Check for signs of wear before starting. Sagging areas or water stains indicate potential problems. Address these issues to avoid future headaches.
Professional assessment
A professional assessment ensures your ceiling can handle new lights. Experts evaluate structural concerns accurately. They provide solutions for any issues found. An assessment prevents accidents and ensures safety. Trusting professionals protects your investment in home improvement.
You’ve now completed the journey of installing LED ceiling can lights. This project not only enhances your space but also boosts your DIY skills. Embrace the satisfaction that comes from transforming your home with your own hands. Remember to prioritize safety by double-checking connections and using insulated tools. Enjoy the beautiful ambiance created by your new lighting setup. Share your success with friends and inspire others to take on their own projects.

